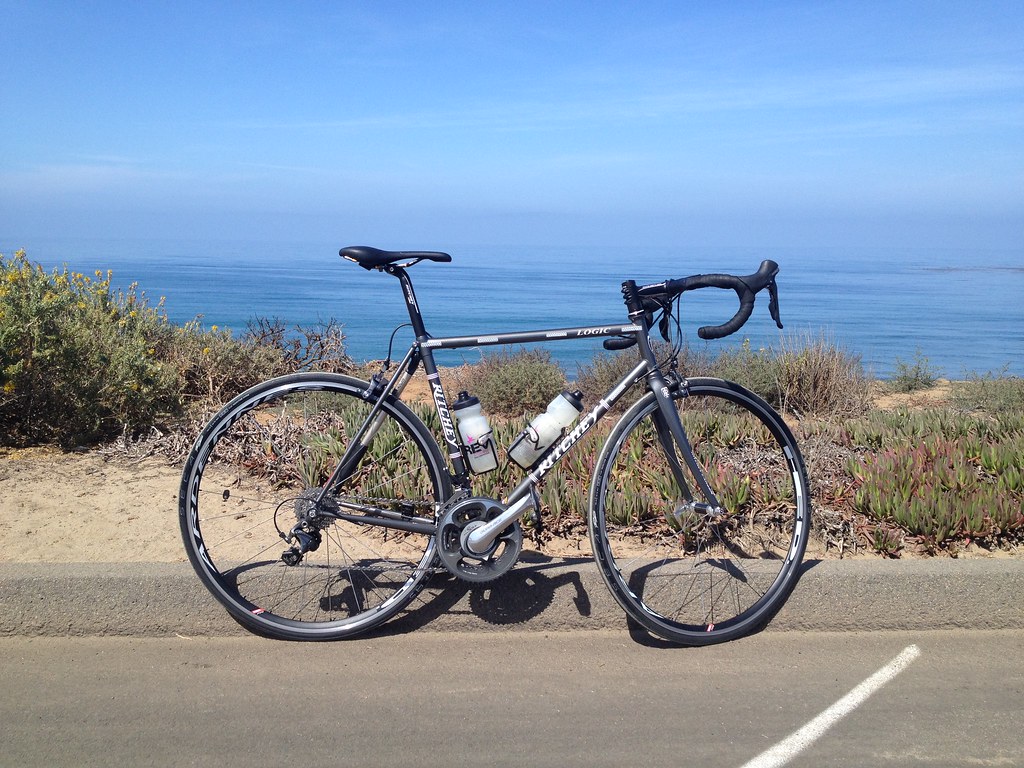
After many months of waiting I finally received my Cannondale Super Six EVO Di2 bicycle. I first rode this marvelous machine while attending Dealer Camp held in Deer Valley, UT in late July of 2011. From my first few pedal strokes I was pleasantly surprised and impressed by it’s stiffness and great ride quality. But alas, I had to finish out the 2011 race season with my Felt F1 Di2.
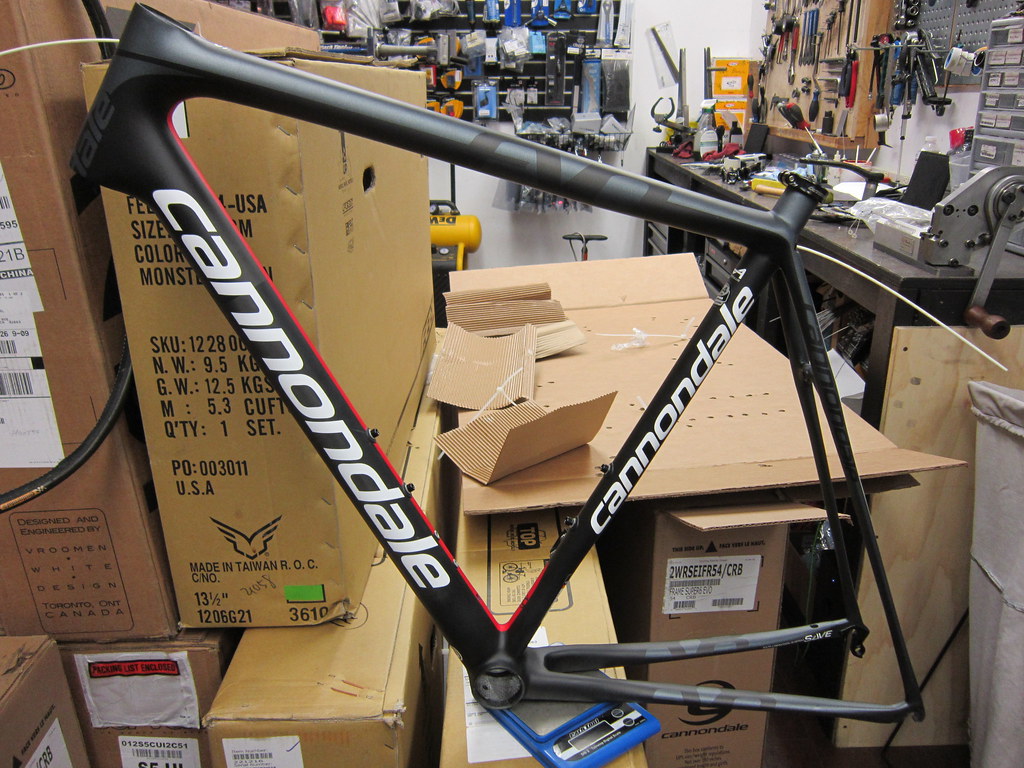
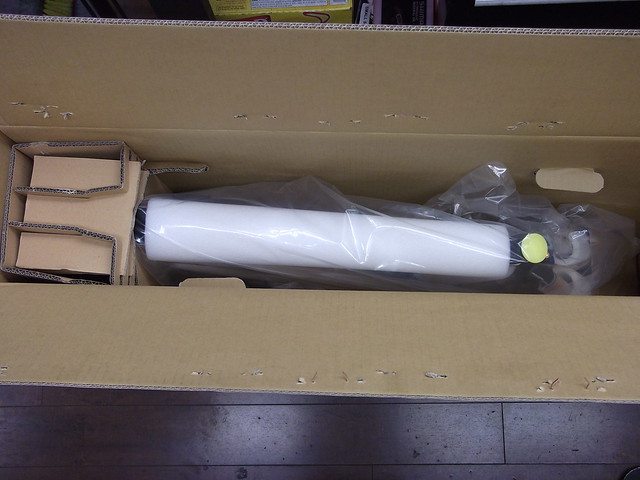
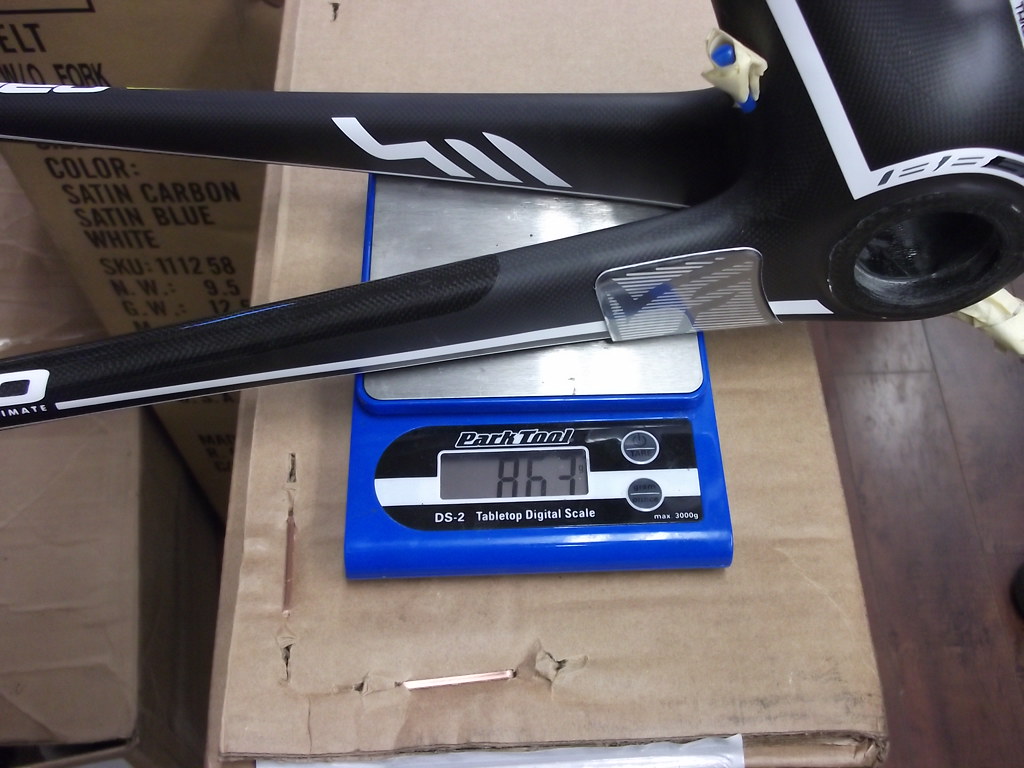
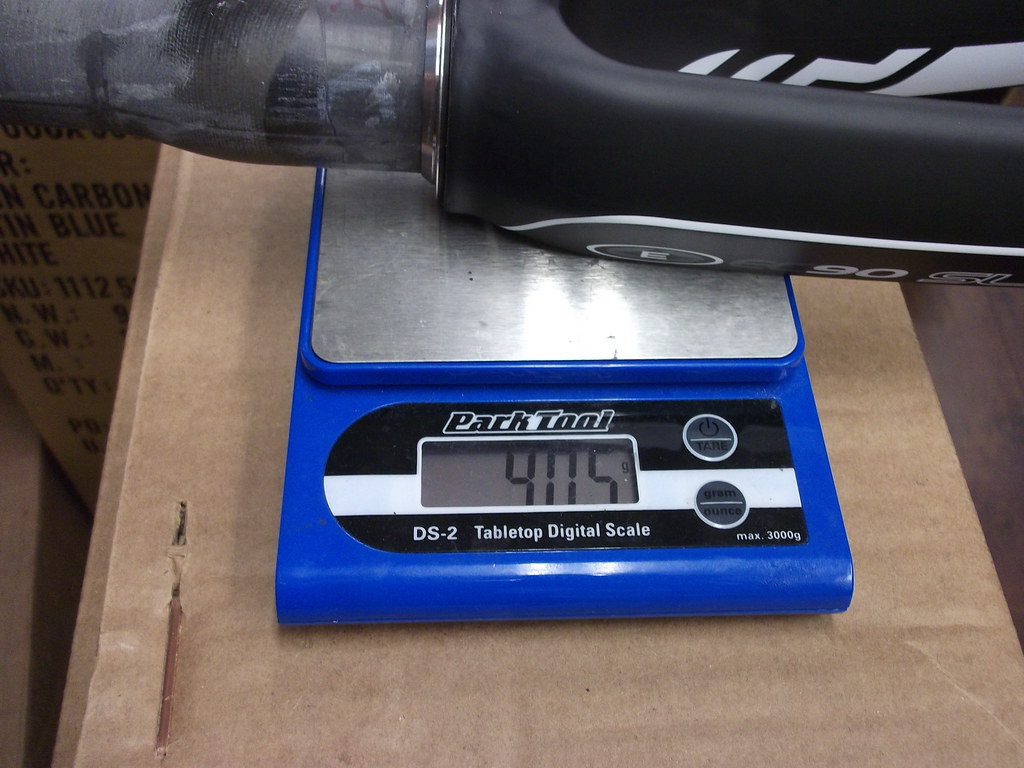
Fast forward six months and I am now the proud and oh so excited owner of the Cannondale SuperSix EVO! From a previous post you will see that the frame weight is below 800 grams. This is quite astonishing as we once considered the benchmark for frame weight to be sub-1kg. My 54cm Cannondale Super Six EVO frame actual weight was a remarkable 772 grams! How much lighter will carbon fiber frames get?
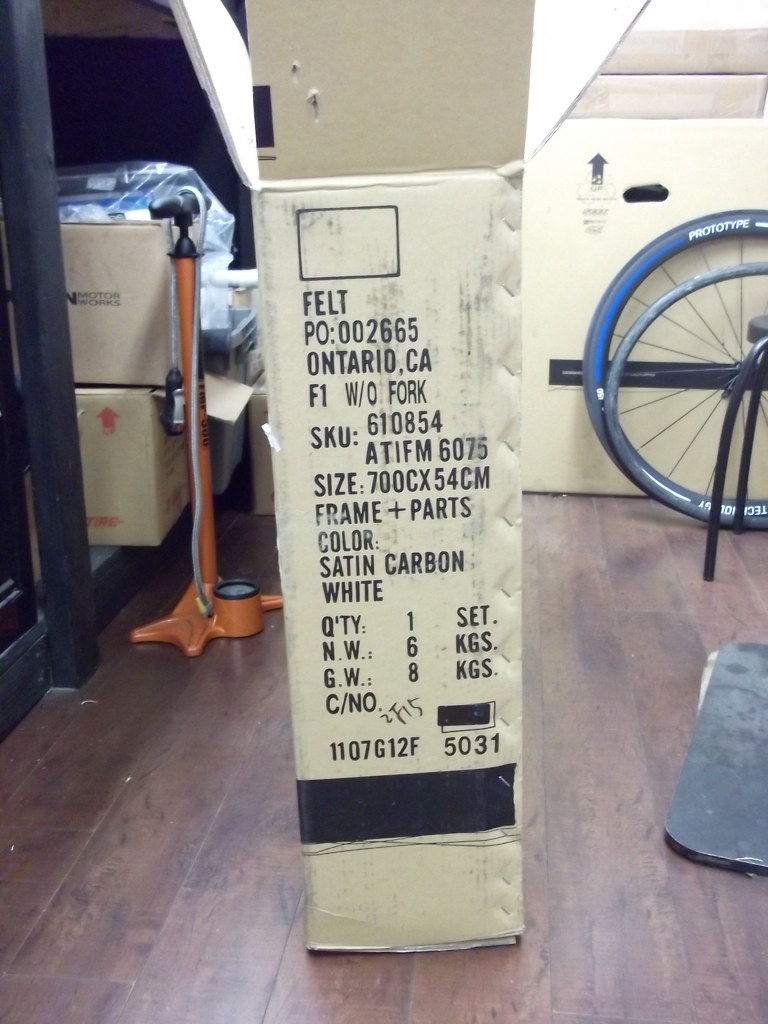
But this isn’t a product review about the bantam weight of the new Cannondale SuperSix EVO frame. No, ladies and gentlemen, this is much more than just lightweight. Not only is the EVO frame the lightest production frame available today but it also has very good road manners. One of the things I found lacking in my 2011 Felt F1 frame was ride quality. The Felt F1 had plenty of stiffness and an incredibly stable front end. But it was, shall we say… a little rough around the edges. It was a little harsh for my taste. The Felt F1 is like taking your first few sips of a Slurpee, it’s sweet tasty, refreshing on a hot summer’s day, but take one too many sips and you get brain freeze! It is a fantastic bike and it is perfect for a large segment of the high-end road market and professional racing circuit. However, for my personal application there wasn’t a love connection. The Felt still needs a remedial session in finishing school. A fondness that began with an infatuation but didn’t progress into a 100% committed relationship and my eye wandered. The EVO caught my attention straight away with its beguiling matte finish, its tried and tested racing heritage, and its wonderfully compliant and supple ride. It truly was love at first ride!
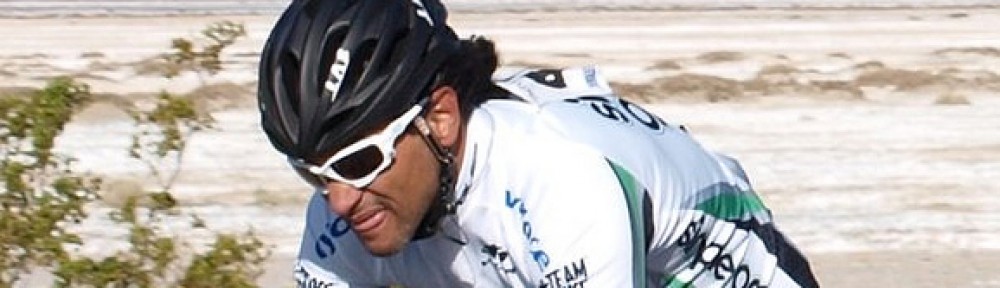
A little background about myself might put my product reviews in perspective for those of you discovering my blog and reading it for first time. I am an Ultra Cyclist. My typical training rides are about 50 miles, my long days are about 100 miles and my really long days are measured in hours, no longer in miles. My goal event for the last six years has been the Furnace Creek 508. It is a 508 mile non-stop bicycle race with 35,000 feet of climbing. “The 508” has 10 mountain sections, traverses the Mojave and Death Valley deserts. It is a true test of a rider and his machine’s ability to endure heat, cold, the unrelenting sun beating on you through ever-clear skies. riding through the night, mountain climbs, mountain descents, 5000 foot summits, the lowest point in the Western Hemisphere, Badwater (-282 feet below sea level) and some of the worst roads you can ride on a bike (latter part of the course). My singular focus in pursuit of endurance cycling excellence has earned me induction into the Furnace Creek 508 Hall of Fame, class of 2011. I have completed the Furnace Creek 508 six consecutive years in the solo category. A feat unmatched by any solo rider that has gone before me in over 25 years and nearly 40 editions of the race. In its early years the race was run twice year. My best time is 37 hours and 34 minutes set in 2008. I owe my success purely through the patience, persistence and perseverance of my crews, they are the only reason I have been able to finish 6 consecutive solos. Thank you to all my previous crews!!!!
And so it stands to reason that my product review of the Cannondale SuperSix EVO emanates from a century ride and not from a 10 mile ride “around the block” or just re-writing the specs from their glossy catalog. After a few shakedown rides to confirm the build quality and proper fit I headed out on a 95 mile 10,000 feet of climbing training ride. What better place to test a super light weight frame than to take it climbing and descending right? The perfect venue then would be the mountains of San Diego County. One of my favorite climbing routes is Palomar Mountain. It is considered one of the 10 toughest climbs in California.
1) Onion Valley
2) Horseshoe Meadows
3) White Mountain
4) Sherman Pass
5) Whitney Portal
6) Mount Baldy
7) Shirley Meadows
8) South Lake
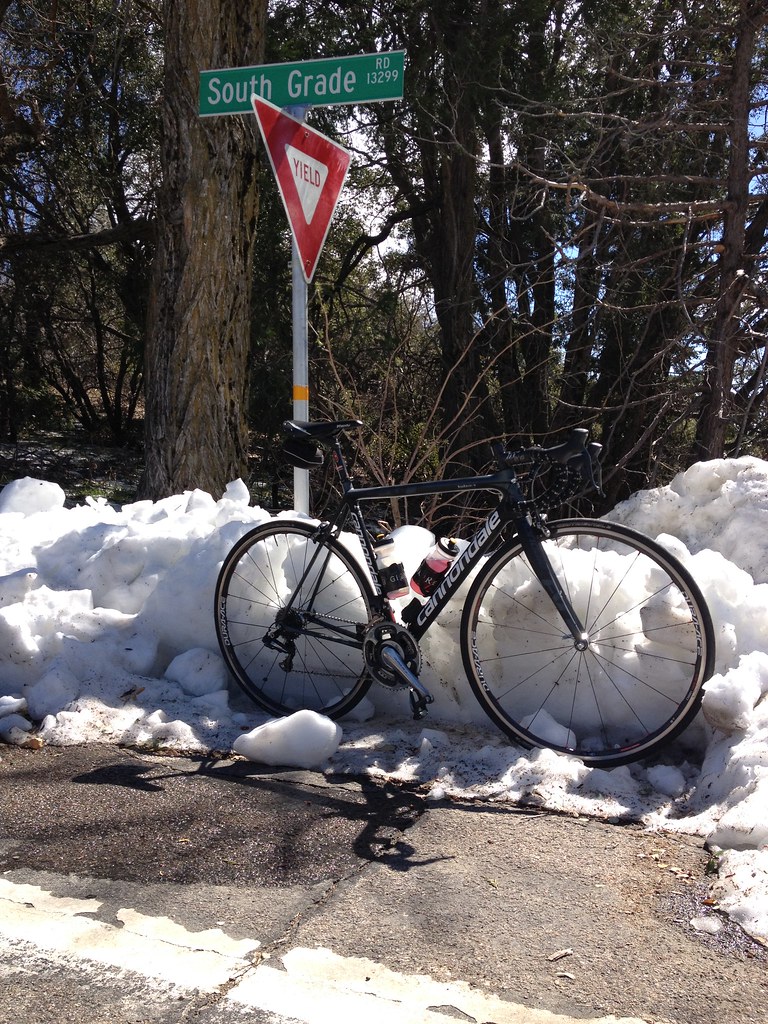
9) Mount Palomar
10) Mosquito Flat


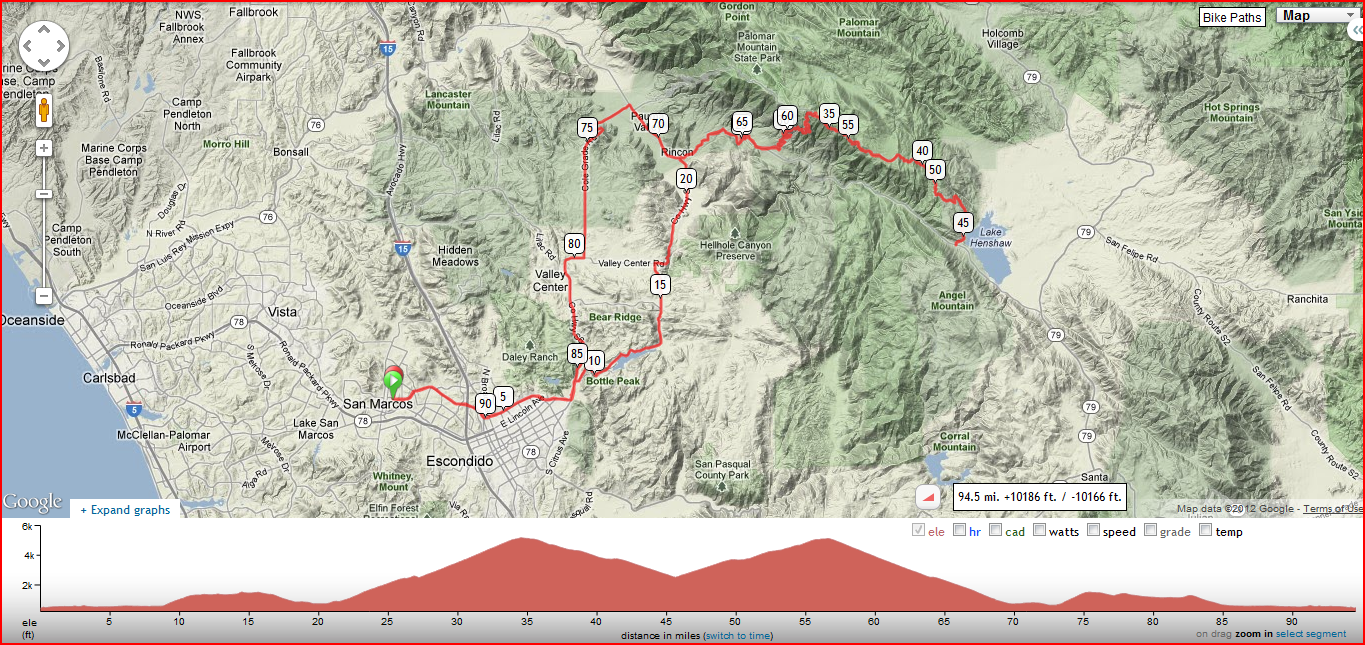
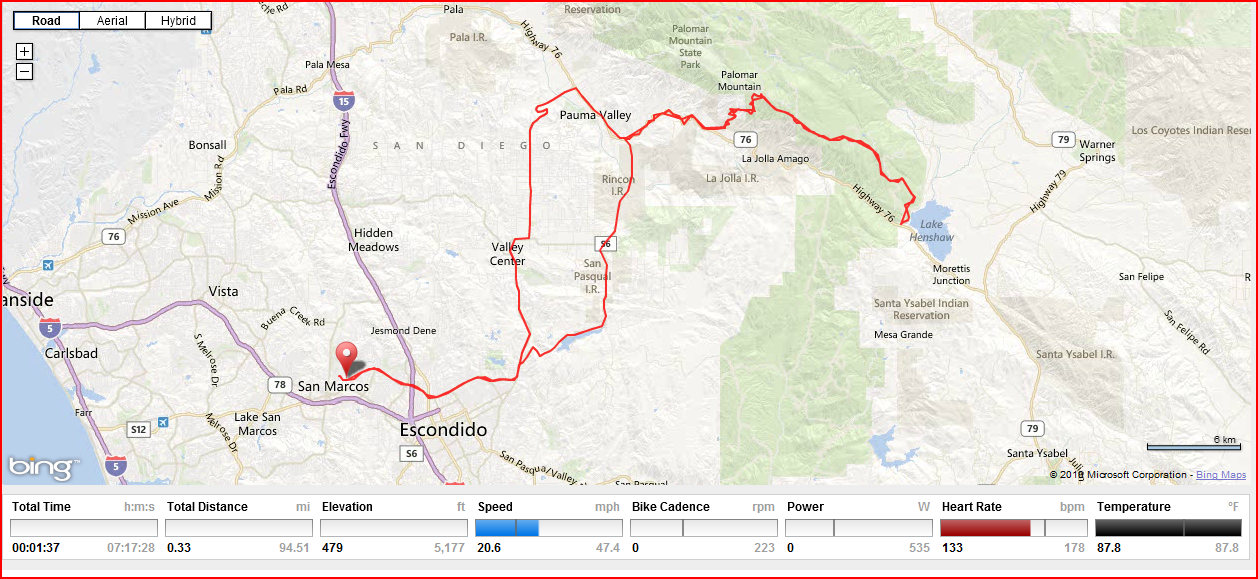
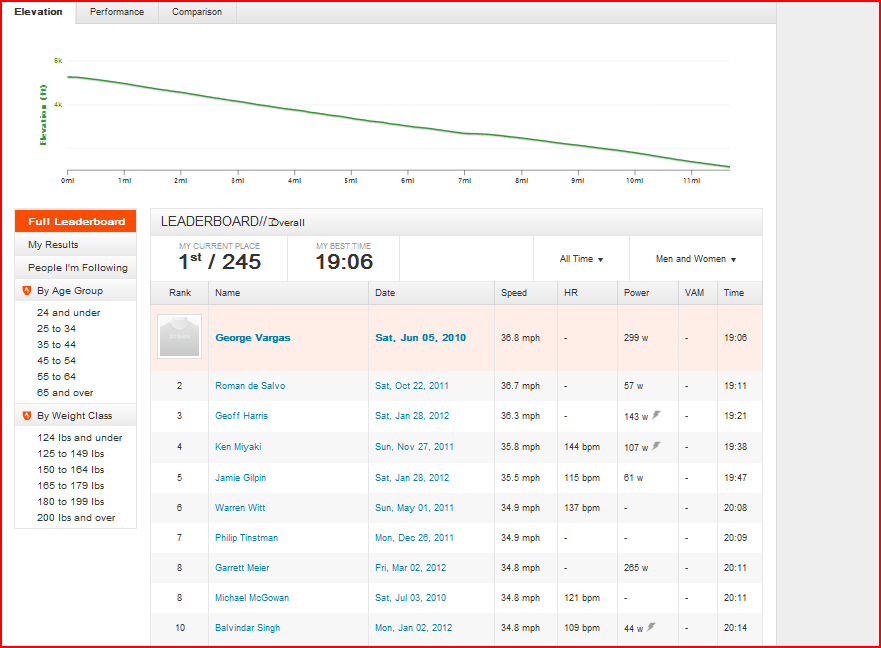
The graphs above are map views, including terrain, of my route from San Marcos, CA to Lake Henshaw via Palomar Mountain. The elevation profiles show my ascent up South Grade Rd, descent of East Grade, ascent of East Grade Rd and descent of South Grade Rd and finally the ascent of Cole Grade Rd.

The graphs above are screen grabs from two different web-based GPS analysis sites. Garmin Connect and the other is Ride with GPS (RWGPS). Interestingly, RWGPS has just recently adopted a new ranking system for users akin to Strava.

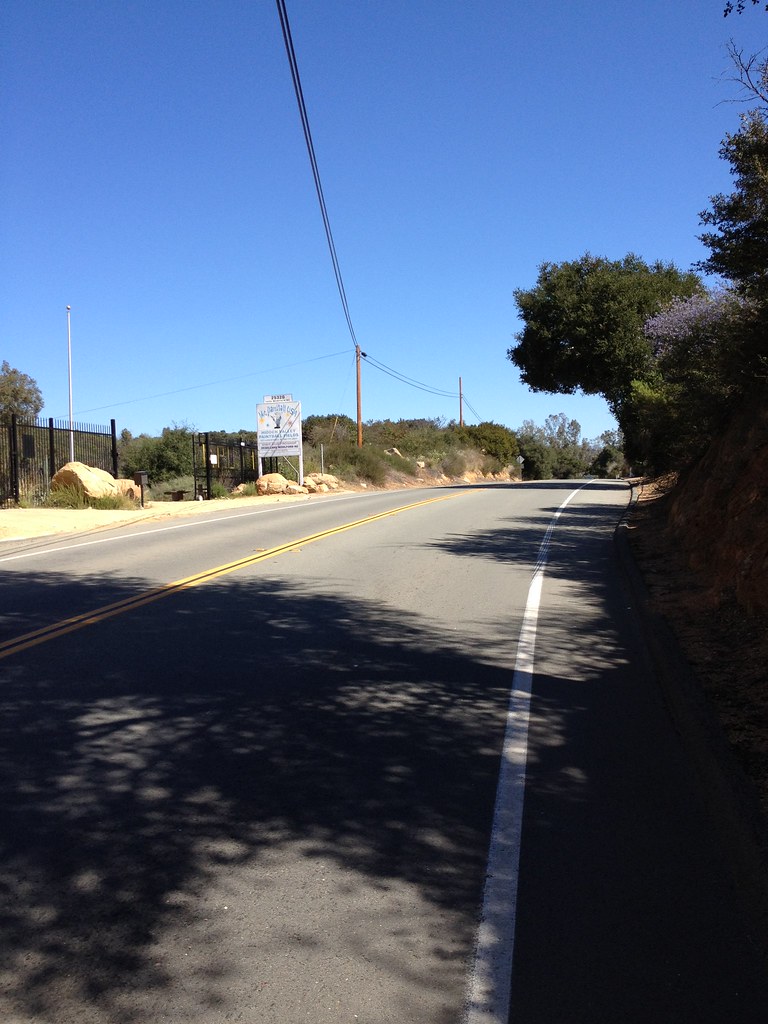
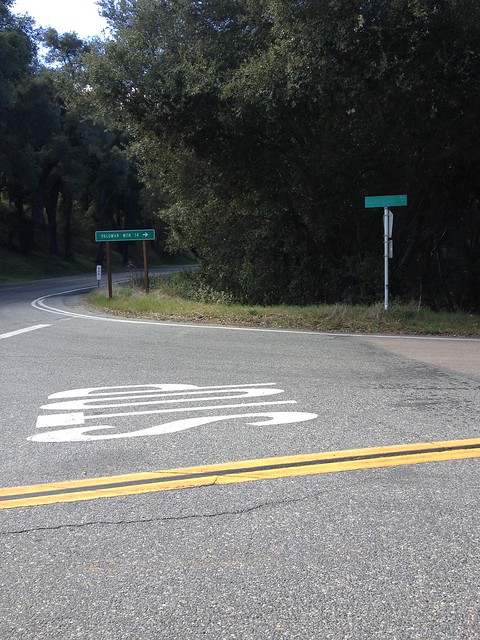
Right turn at Lake Wohlford

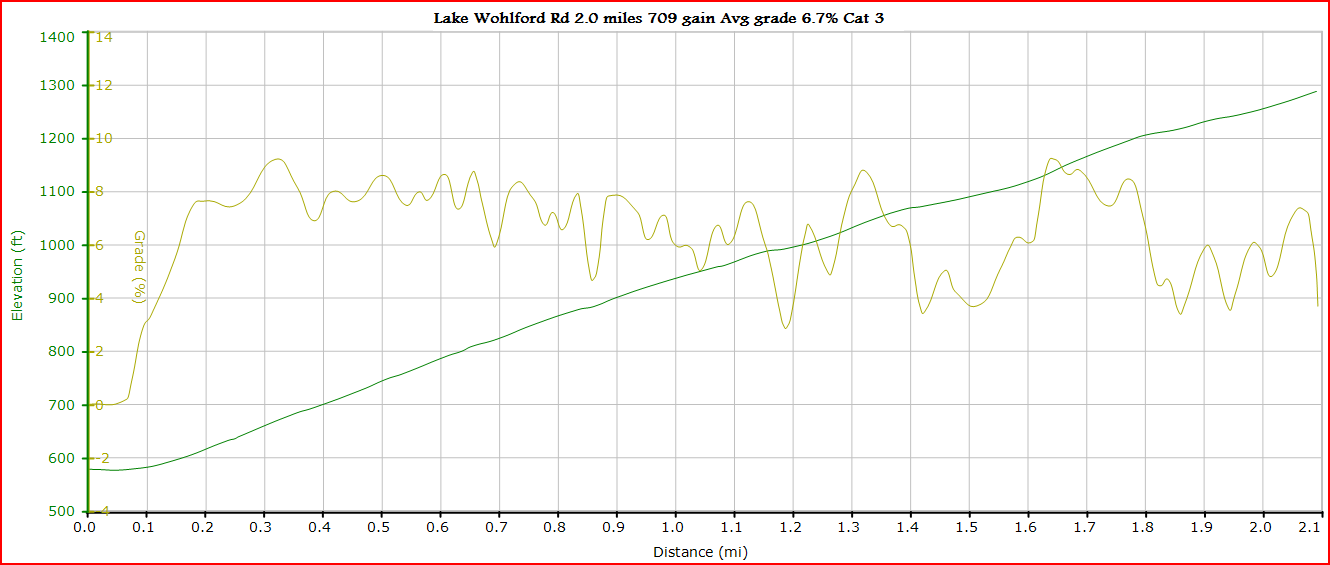
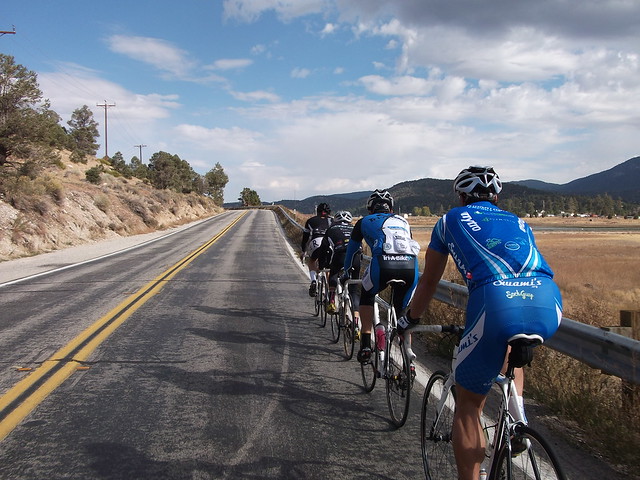
The first real climb of the day was Lake Wohlford Rd, a stout 2 mile climb. I was about 10 miles into my ride, warmed up and ready to climb. I “attacked” the lower part of the climb (7-9% grade). Immediately, I could feel the frame respond to my power input. It felt light, responsive and lively. My thoughts instantly were “why don’t all frames feel like this?”
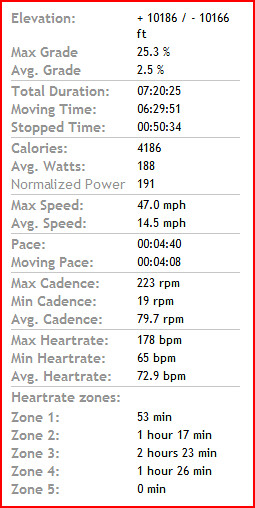
I’m not a powerful rider , but I can hit 1000 to 1100 watts routinely. My max sprint of 1251 watts I only did once under perfect circumstances. I don’t typically feel frame flex unless I attack on a roller over-geared.
One of my training goals for the day was to hold 300 watts for 2 minutes at the base of the climb and then finish off the climb at perceived effort. Over the next weeks my intervals will increase in duration and intensity.
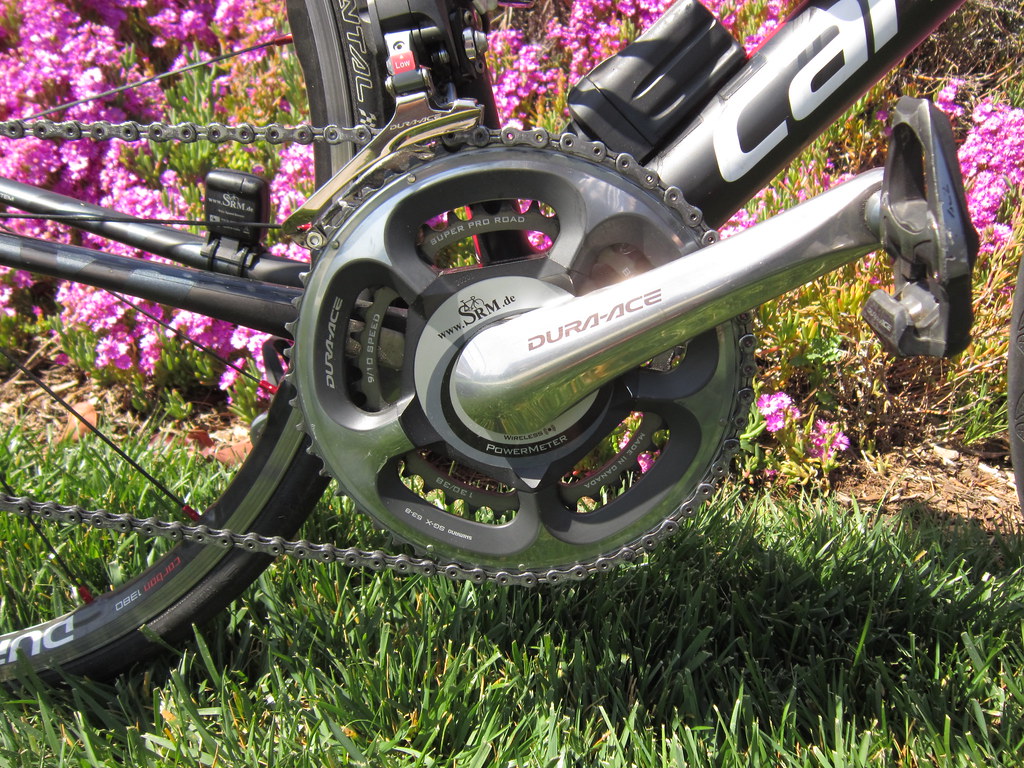
The bike felt amazing. I felt I was getting every watt transmitted from the bottom bracket, through to the SRM 7900 wireless power meter crankset, through the Dura-Ace chain and to the Dura-Ace C24 carbon-clincher rear wheel. The road is tore up and this is where you can really feel the compliance of the rear end. The SAVE anti-vibration systems let’s you put power down on the road while letting you roll over the bumps, cracks and expansion joints on the road in relative comfort. Yes that stuff really works!
UPDATE: On March 15th my goal was 300 watts for 4 minutes and on March 16th 300 watts for 5 minutes (312 watts actual).

The top of the Lake Wohlford Rd climb is 2.1 miles from your right turn off of Valley Center Rd. The climb has a few reliefs which is to say it drops below 6%. But stay on the power because those reliefs are short-lived. Look left and you will see a paint ball arena. Every time I climb Lake Wohlford Rd I think, “wow that looks like it would be A LOT more fun than this!” Of course, this is at the end of my 12 minutes of pain and suffering up the Lake Wohlford climb 😉

Right turn at the T- intersection of Valley Center Road and Lake Wohlford Rd. This is a down hill section of approximately 2 miles as you head towards Harrah’s Casino in Rincon and the T- Intersection of Hwy 76. This section of road is tore-up and the shoulder, what little there is, is not safe for riding. I usually take the lane since my speed is about 40 mph. The closer you ride to the fog-line the harsher the road conditions.


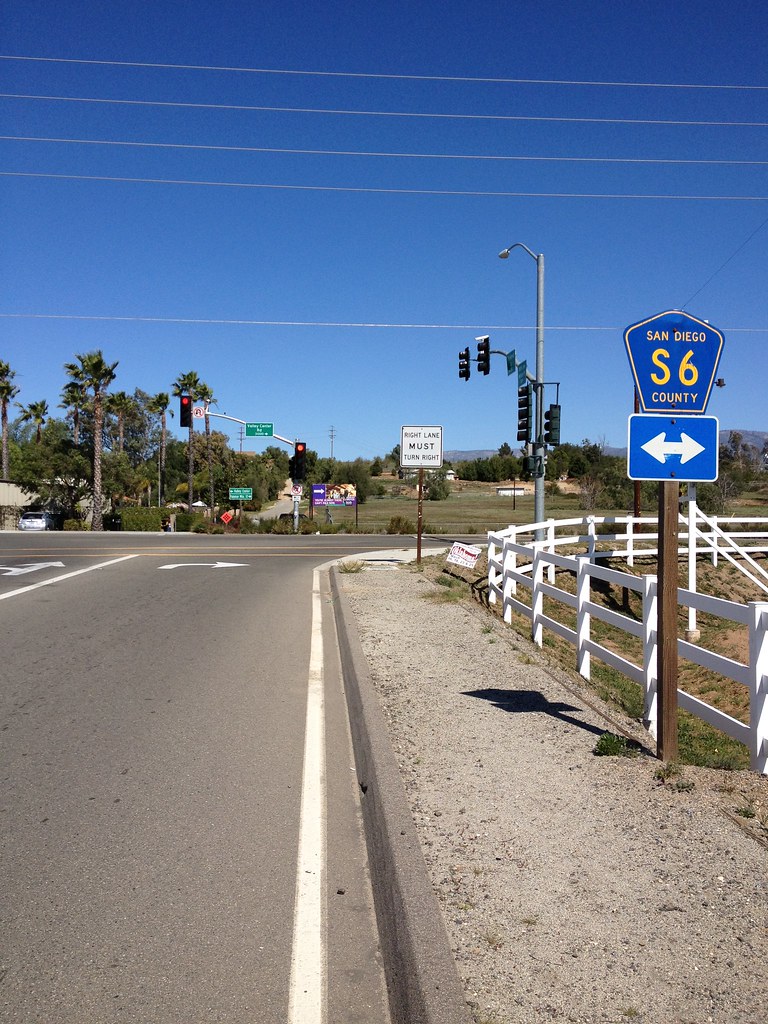
Above you see the intersection of Hwy 76 and Valley Center Rd. Right turn onto Hwy 76 East bound and climb, climb, and climb some more.

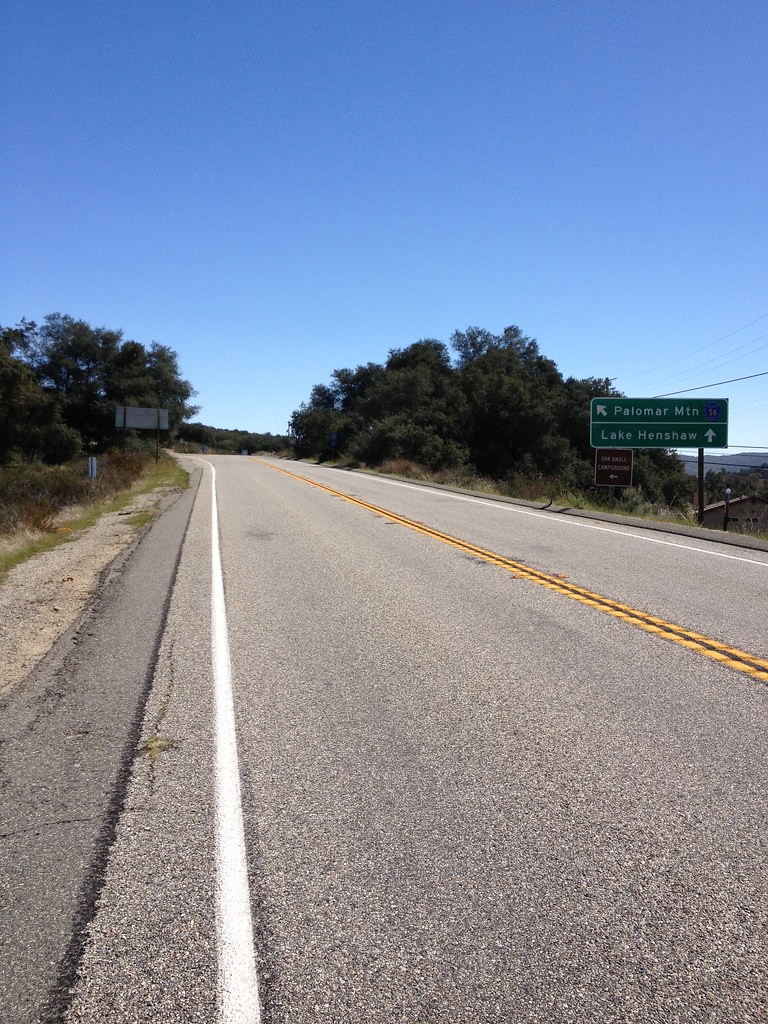
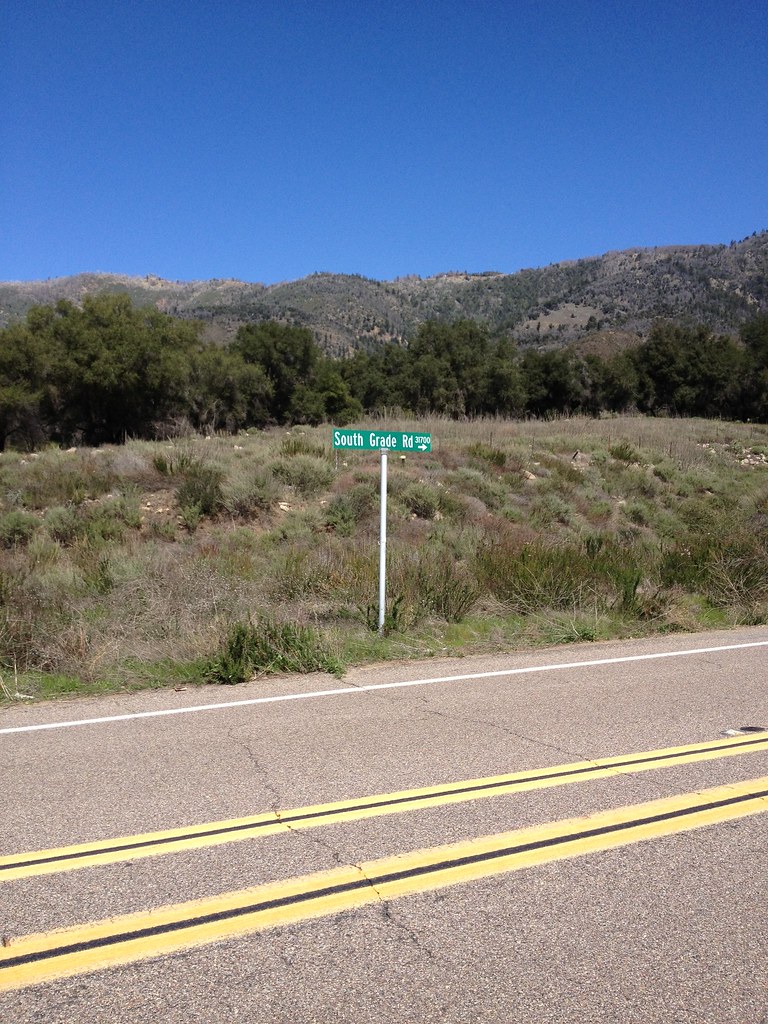
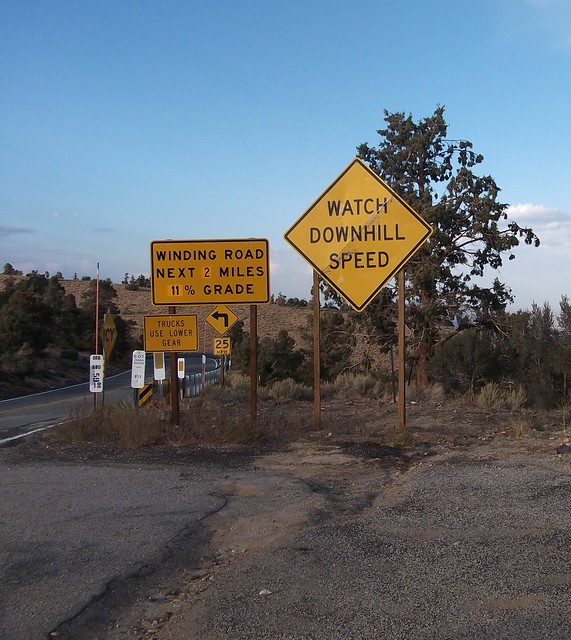
About 5 miles into the Palomar Mountain climb you will reach a “plateau”. It’s flat and slightly downhill for about 3/4 of a mile. You then turn left on to South Grade Rd. to begin the upper portion of Palomar Mountain.

Once you turn left you will finish the last portion of the Palomar Mountain climb 6.7 miles up towards 5,200 feet elevation.


The top of the climb is mile marker 47.8. It’s good to know these little details so you can pace yourself up the long 11.7 mile climb.

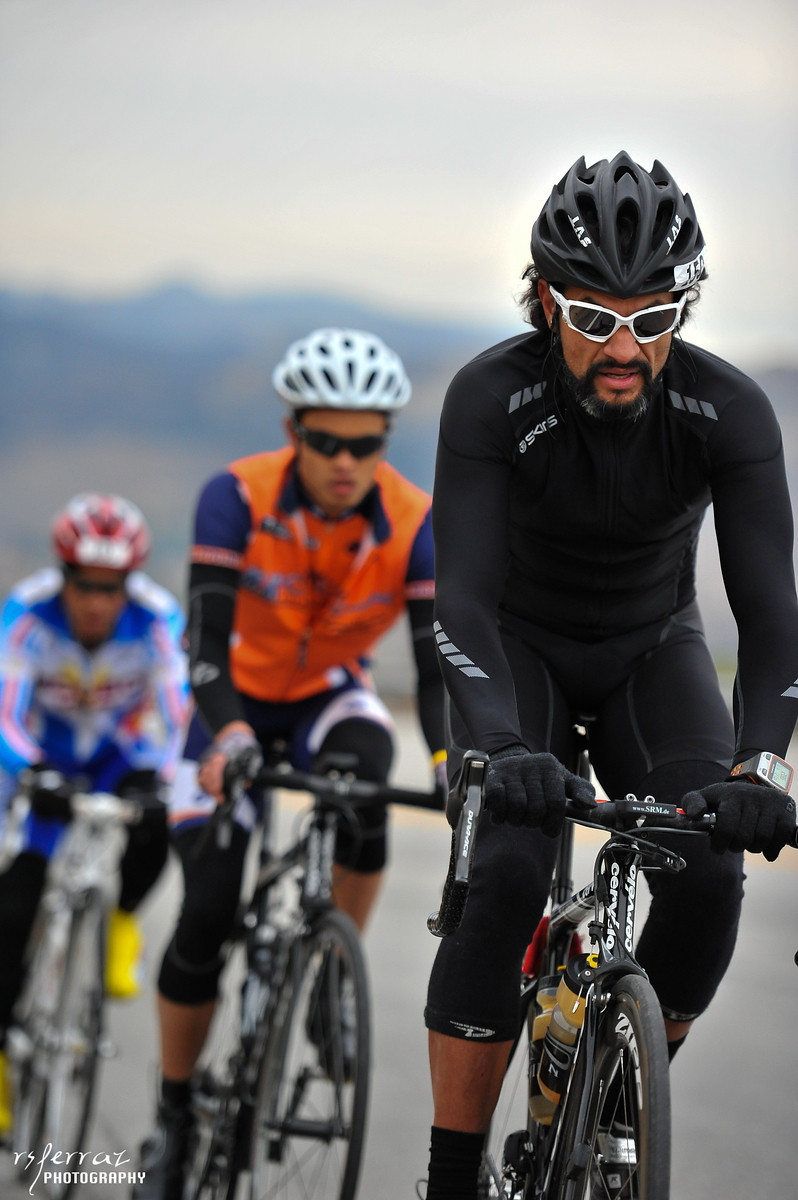
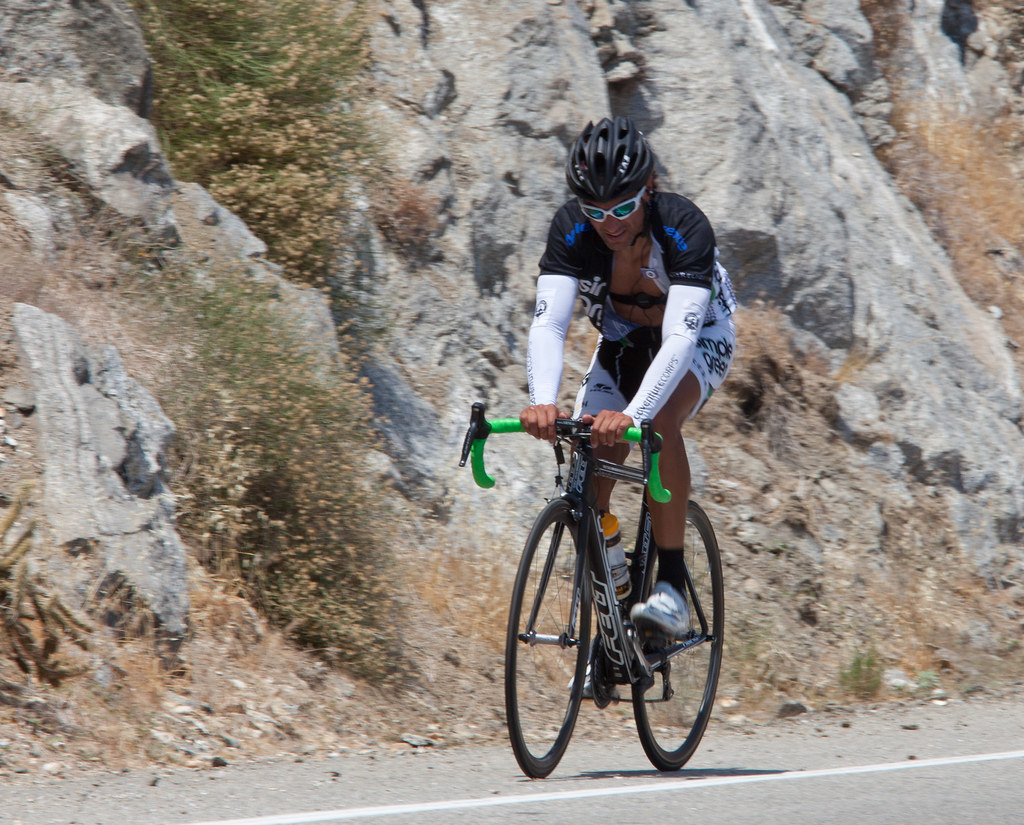
The descent is very twisty and FUN!! Even though this was the first time I was descending on the Cannondale SuperSix EVO, I felt very comfortable pushing the limits… a little. Little known fact I was the “KOD” King of Descent on Palomar Mountain on Strava. I’m not a heavy rider, at 150lbs, what I am is a skilled descender.


Notice the 2012 Mavic Huez yellow cycling shoes. I will have a review in the coming weeks on the lightest cycling shoe I have ever had the pleasure of riding.
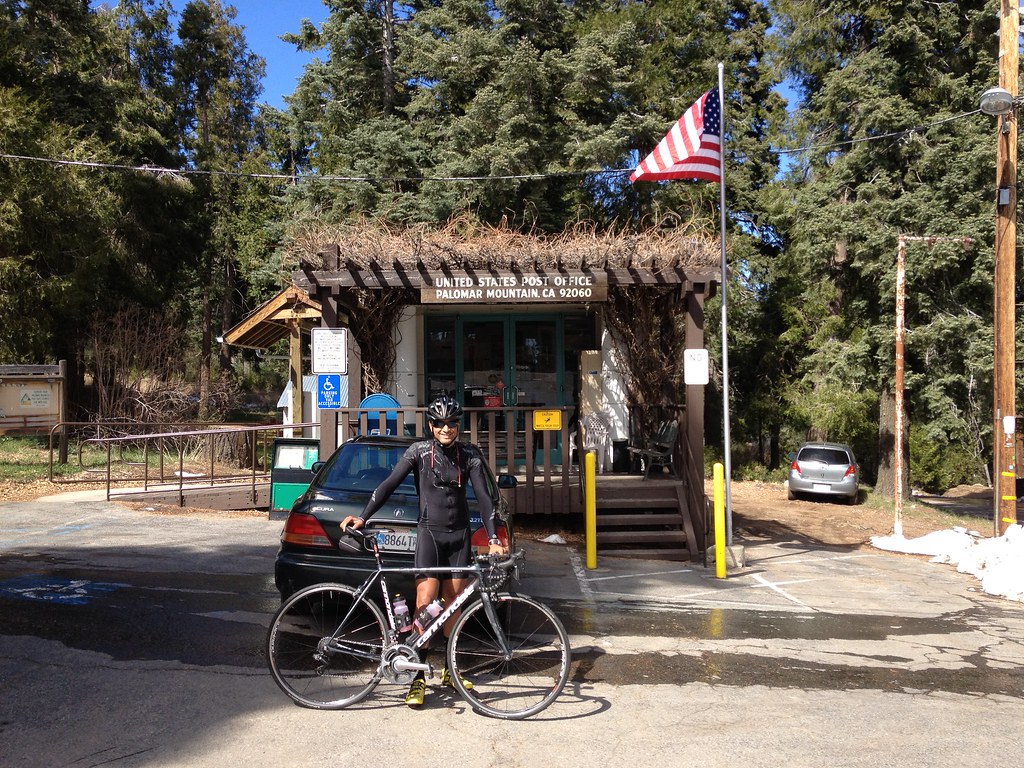
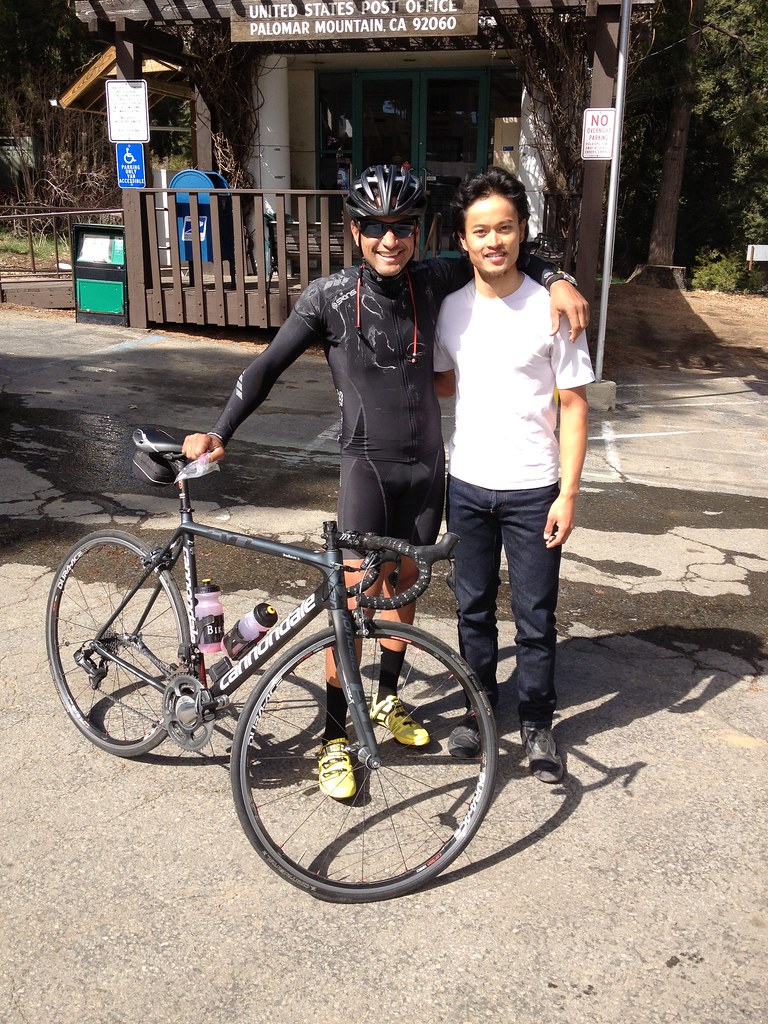
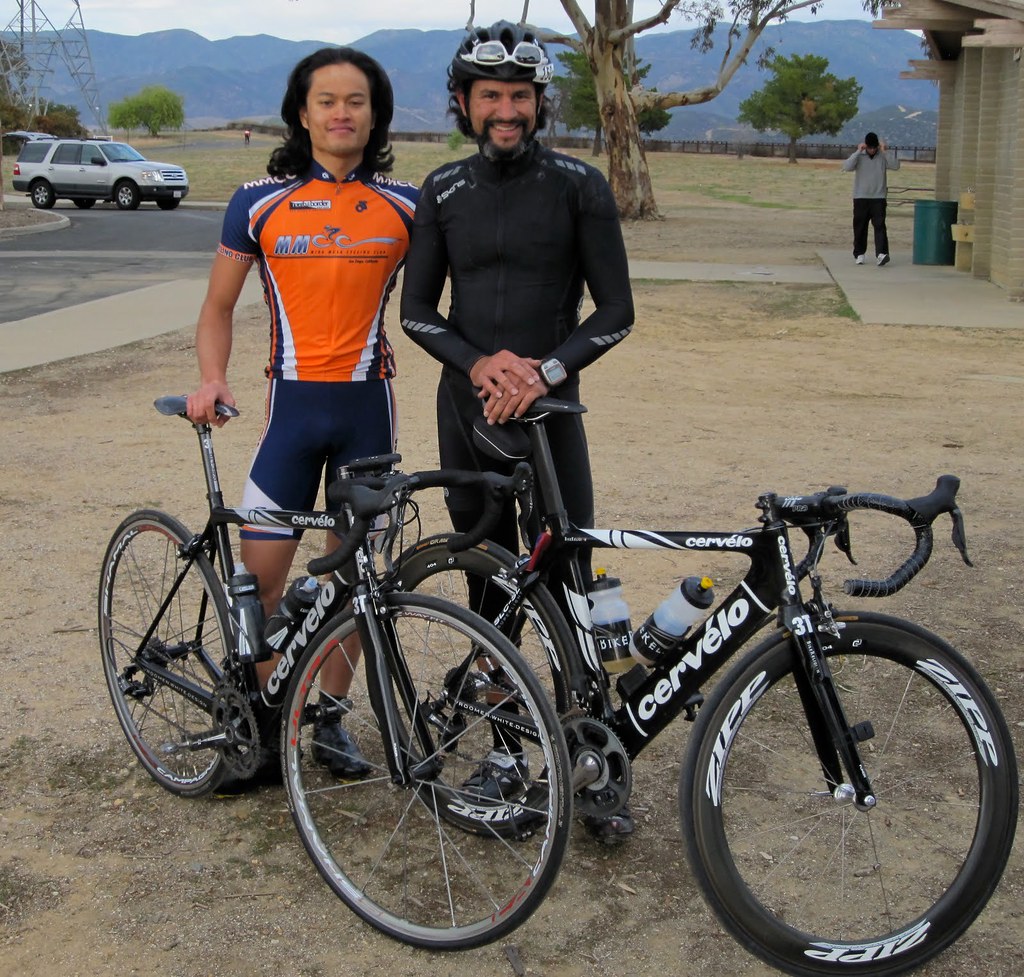
 In the two pictures above I am posing with my friend Jon. He was out riding his motorcycle on Palomar Mountain while I was using good ol’ pedal power to climb one of California’s TenToughest climbs. When I reached the summit and went into Mother’s restaurant he called out my name. At first, it didn’t click plus I was still in a daze from my extended “hard effort”. But then when I recognized him it was such pleasant surprise to see him there. We talked for a few minutes then posed for a couple of pictures. What a coincidence and nice treat to run into my friend Jon. The picture just above is at the finish of 2010 Tour De Francis Winter Edition in which I came in first and he was right on my wheel for second. It was a great day on the bike. One of my favorite pictures came out of that event (see below). What is an even more coincidental is I am wearing the same Skins C400 Compression Cycling kit. I hadn’t worn that kit in many months.

The T-Intersection of Hwy 76 and East Grade Road. The descent on East Grade road isn’t nearly as much fun as South Grade. And the climb is quite boring as well. You will note below that the grade is only 4.4% average for the 11.3 miles. As a matter of fact the local knee-draggers call it the “fast side”. It does feel much steeper when you are tired and have already climbed South Grade though.

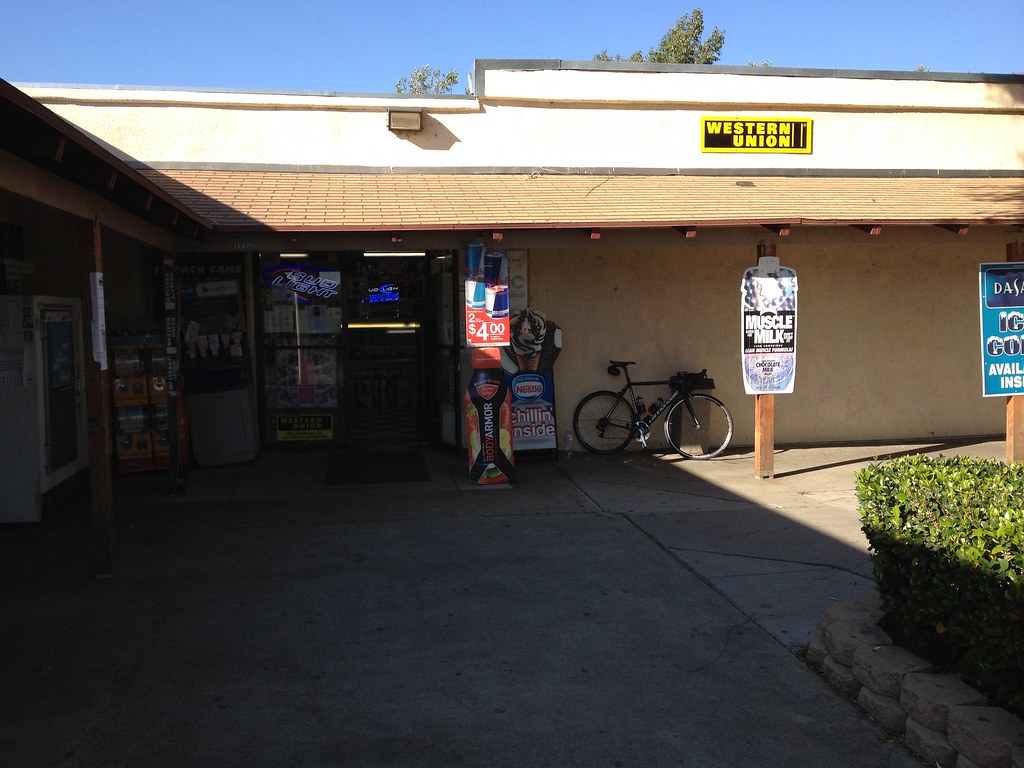
Refueling at “the store” at the bottom of the Palomar Mountain climb. Ron the proprietor is such a nice man. On days when I want to do repeats on Palomar Mountain or if I’m short on time, I have driven to the store and parked in his parking lot. I always ask his permission to leave my car in his small parking lot and he always insists it’s no problem at all.

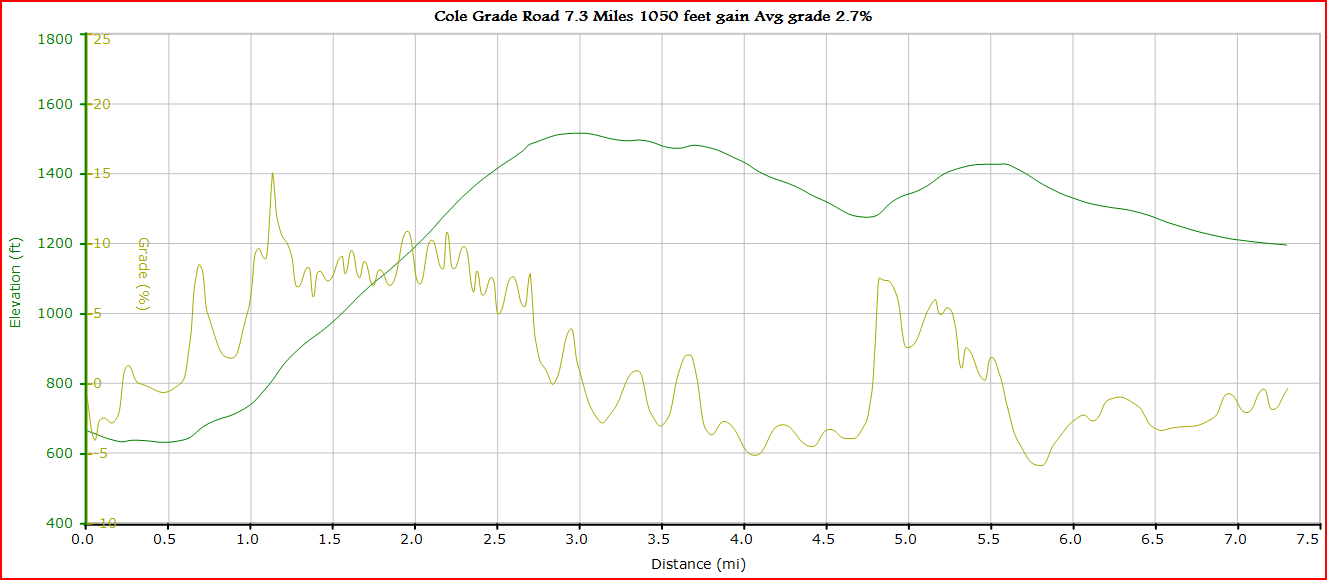
Westbound on Hwy 76 Left Turn on Cole Grade Rd.

Cole Grade Rd is a bit of a shocker after you have been descending what seems to be forever but is really only a half hour. Your legs are not ready for the trauma of 8-10% grades. But once again the Cannondale Super Six EVO shows it’s merit in being stiff enough to handle the wall of a climb before you. The bike just feels so nimble, so responsive when standing out of the saddle.

This is what you look like after 7 1/2 hours on the bike 10,000 feet of gain to include Palomar Mountain from both sides South and East Grade 75 – 85 degree temperature.
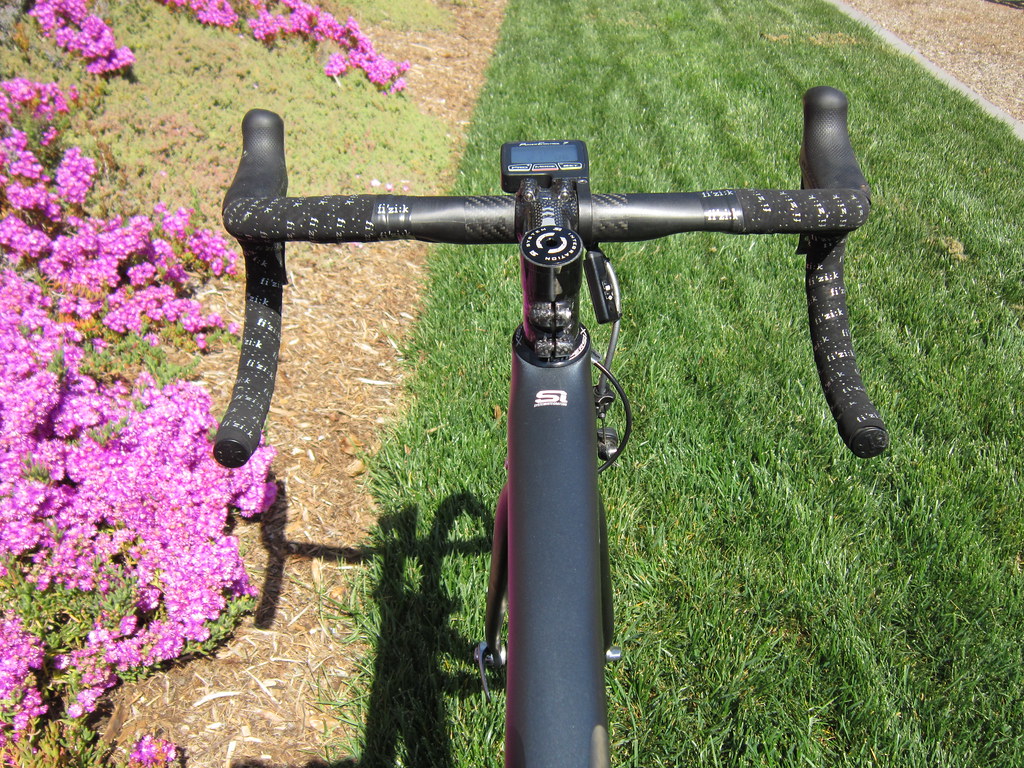
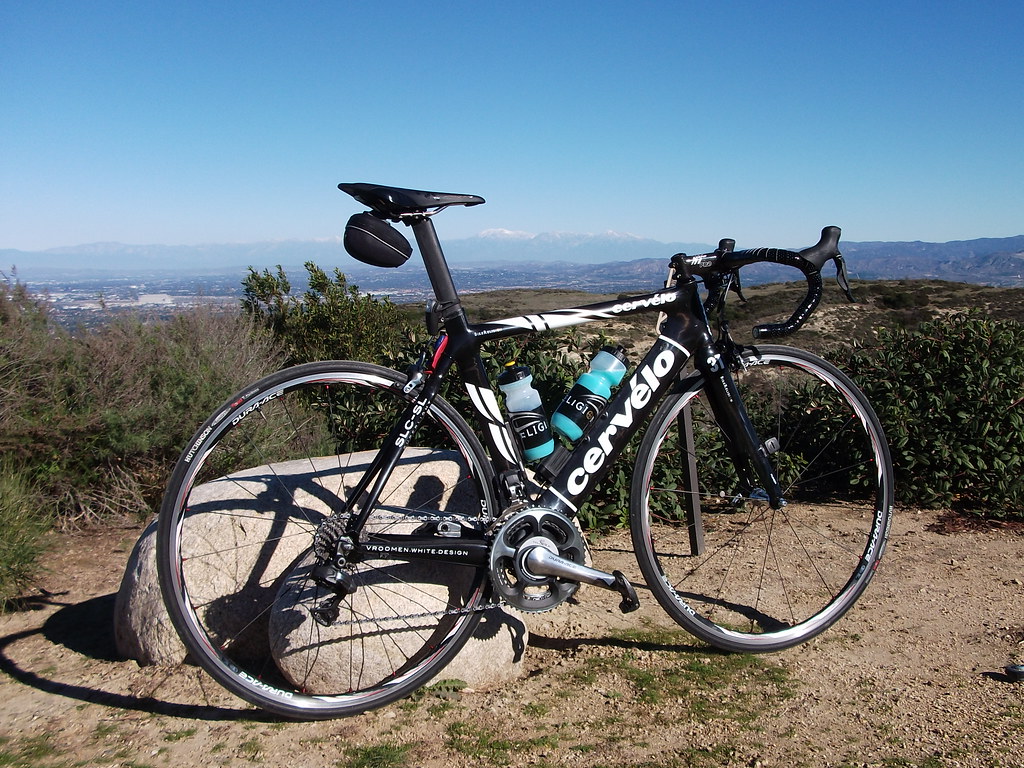
A clean uncluttered cockpit is what I strive for.
No I haven’t cut the steerer tube because some lucky bloke is going to have the opportunity to purchase my bike at the end of the racing season.
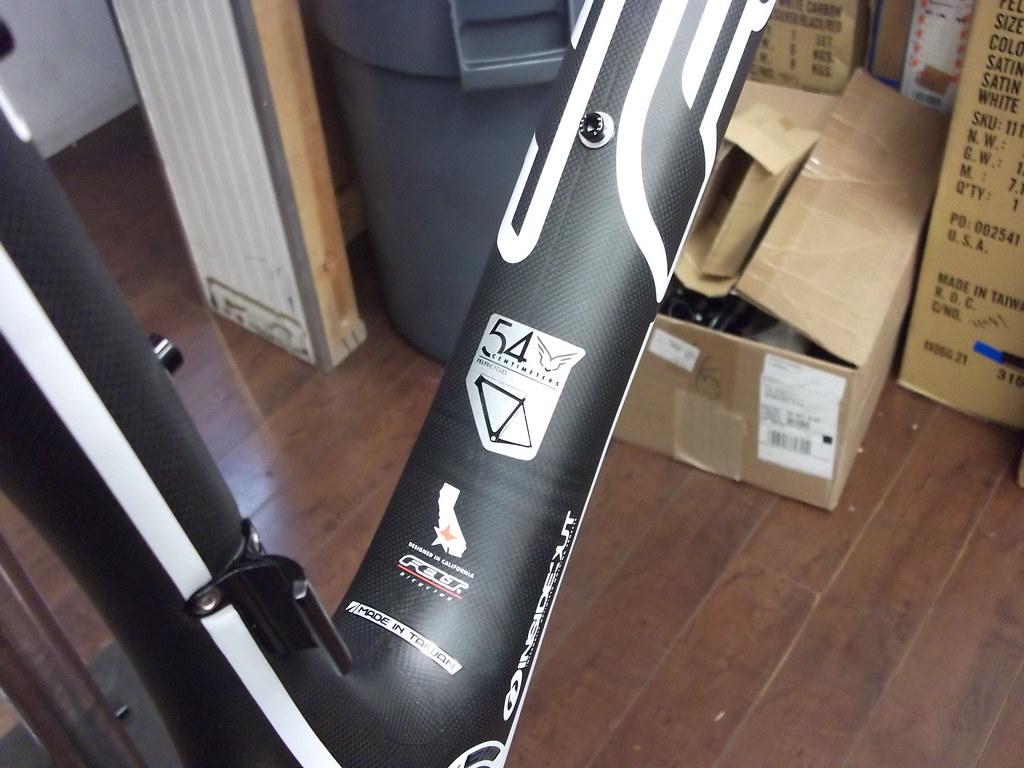
Note narrower tube sections than the Super Six. The new EVO uses less material, smaller tube sections and higher grade lighter carbon fiber to achieve the highest strength to weight ratio.
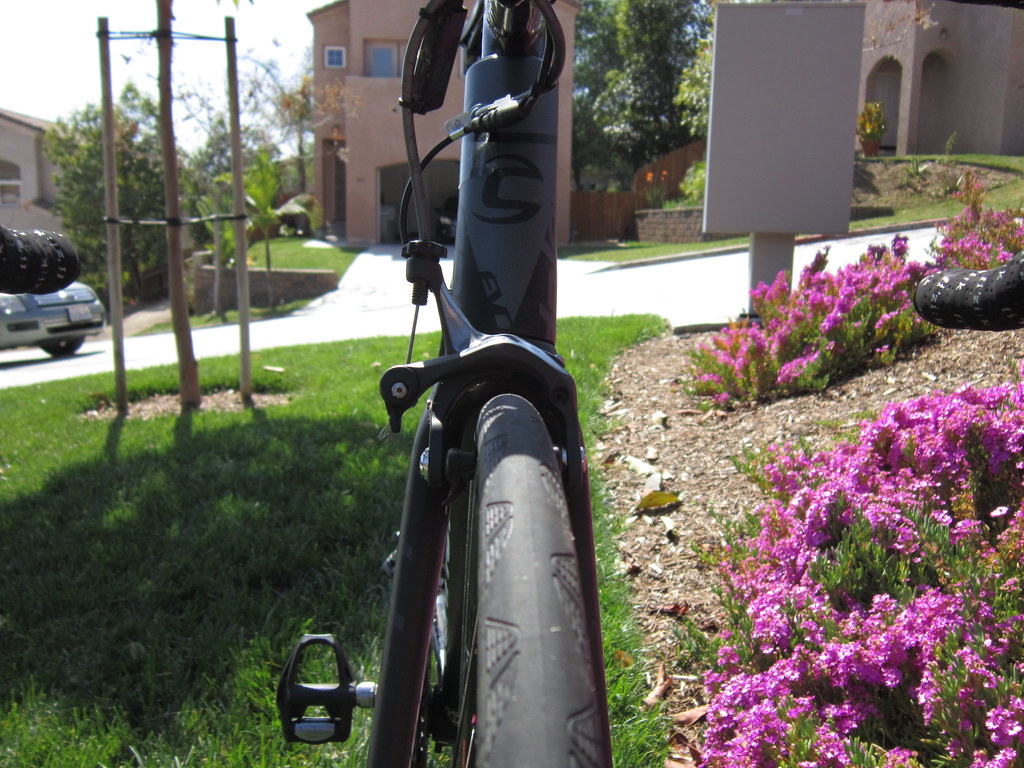
Another amazing thing that Cannondale was able to do with the Super Six EVO was provide a comfortable front end. When I rode the 2011 Felt F1 the front end felt unforgiving. Potholes and expansion joints were quite jolting on the 2011 F1. My 2010 F2 had the industry standard 1 1/8 bearings and that was fine but when the F-series was redesigned they went with a 1 1/5 bearing on the bottom and 1 1/8 on the top or Tapered Headtube. It didn’t work well in my opinion and I believe Felt is redesigning the fork to provide a better ride. But Cannondale nailed it! The bike is very smooth on the front end. Thank you Cannondale.
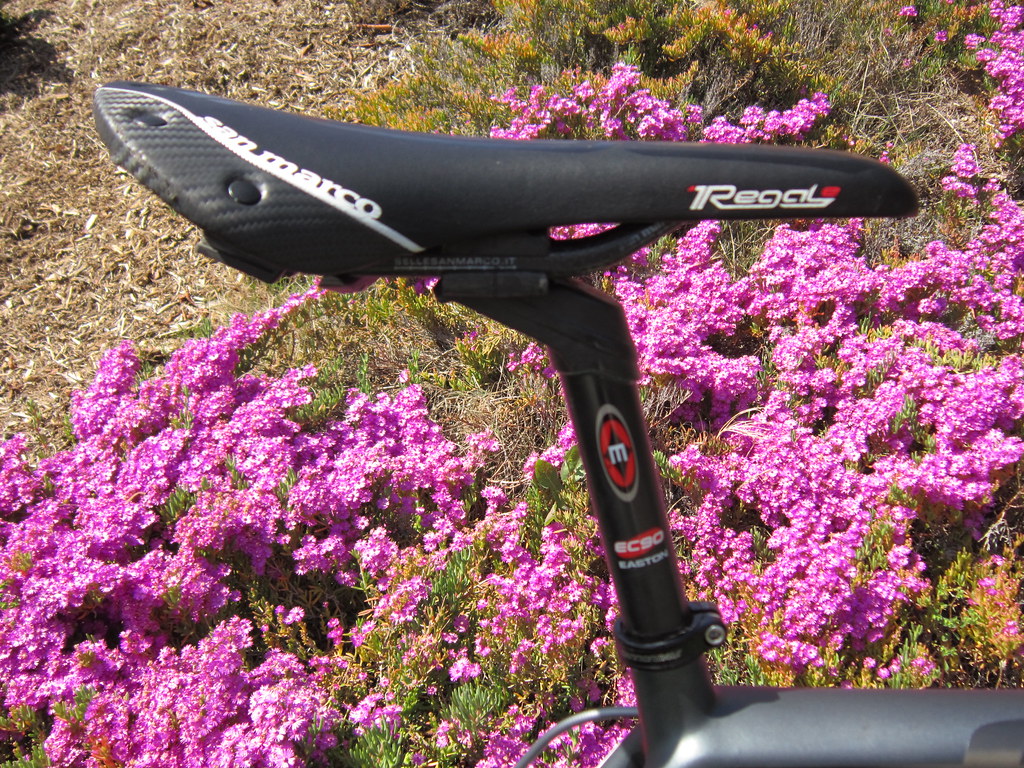
The Selle San Marco Regale is one of my favorite saddles!
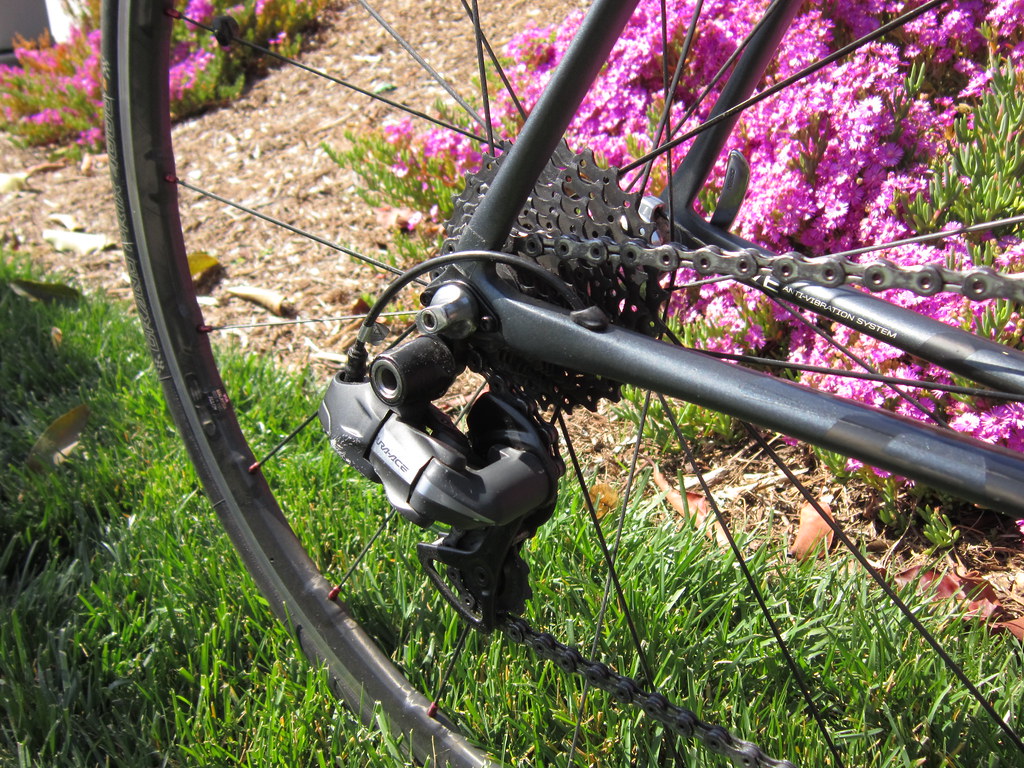
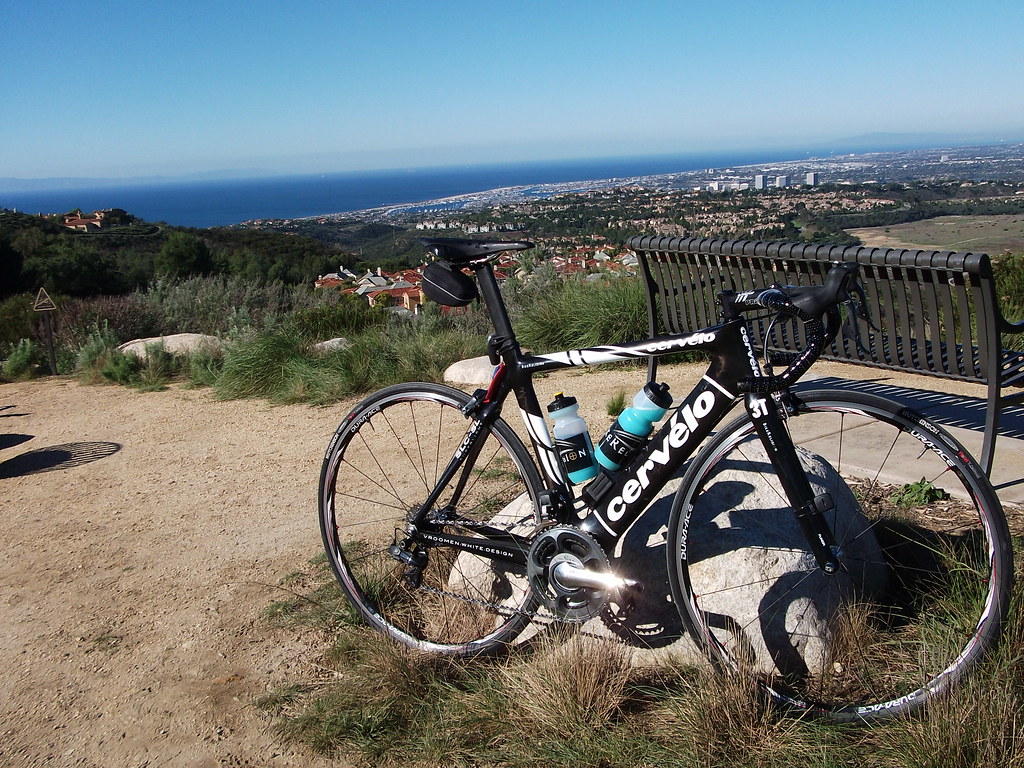
Note the return to split seat stays. Many manufacturers have returned to split seat stays to increase rider comfort.
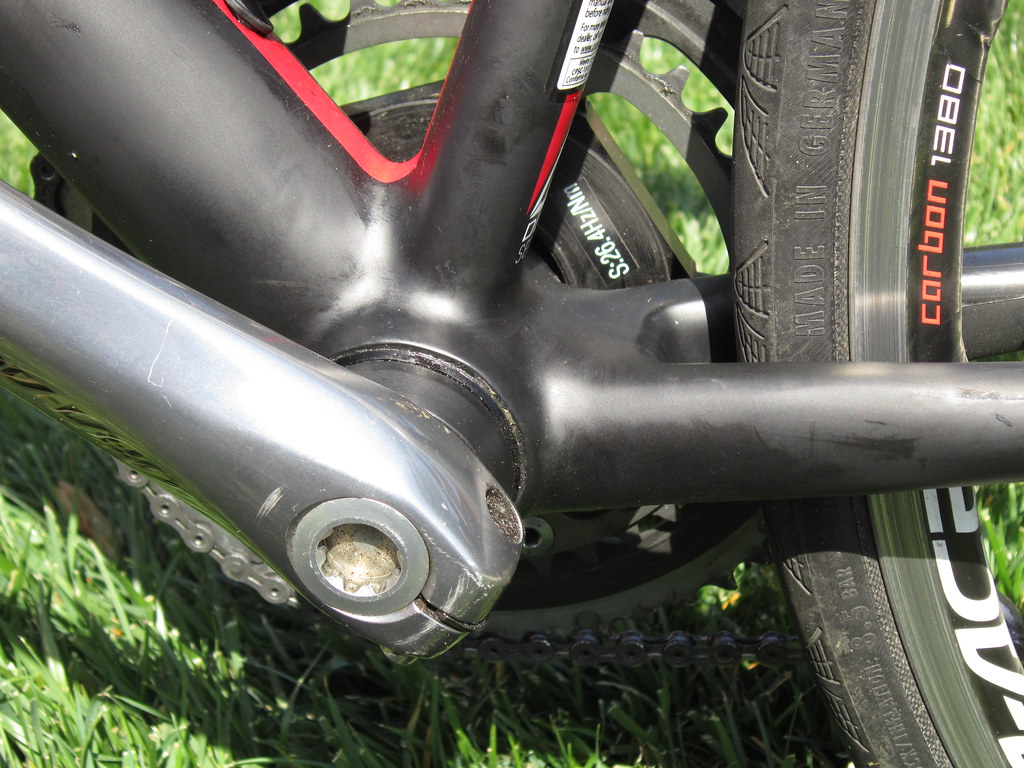
Note how massive the chainstays are coming out of the bottom bracket. Also note how the seat tube is quite narrow as it rises up from the bottom bracket. This is what Cannondale calls the Delta Seat Tube. It features a carbon fiber lay-up that allows the seattube to deflect slightly fore-aft under a rider’s weight to absorb impacts and vibration. Cannondale uses a similar technology on their cross country racing bike,the Scalpel, whereby they build in vertical compliance or flex on the chainstays.
Note how the magnet is mounted on this Di2 specific frame. There isn’t a bottom bracket cable guide heli-coil to screw the magnet into the frame. So I use electrical tape to install the magnet. Yes electrical tape!
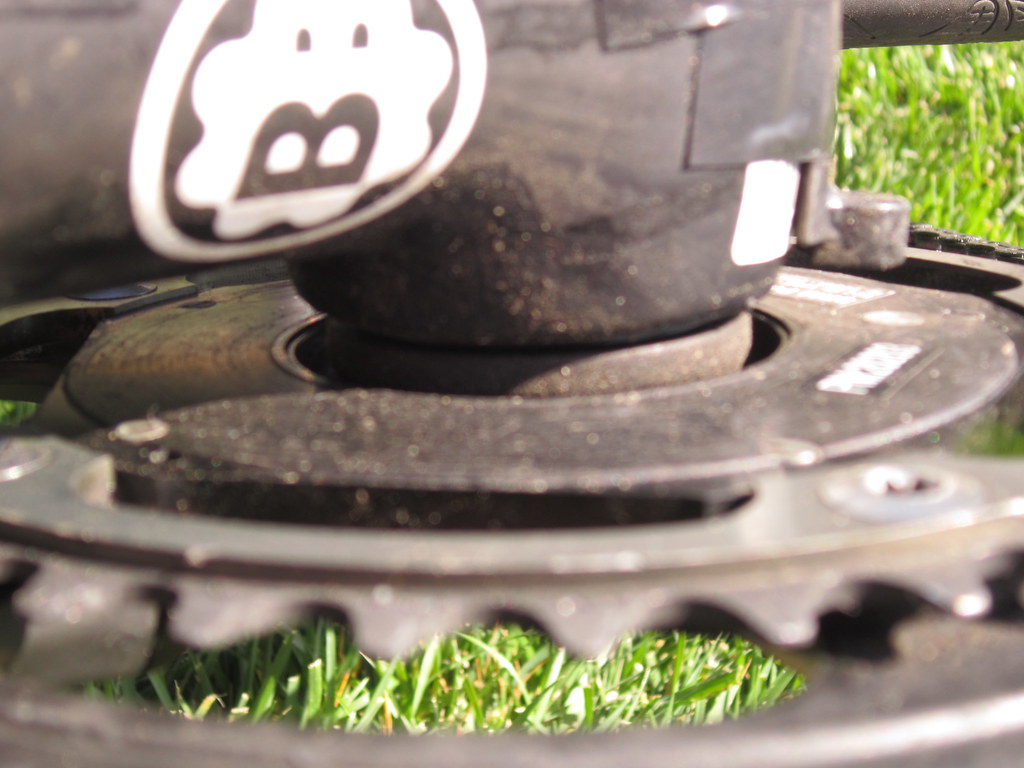
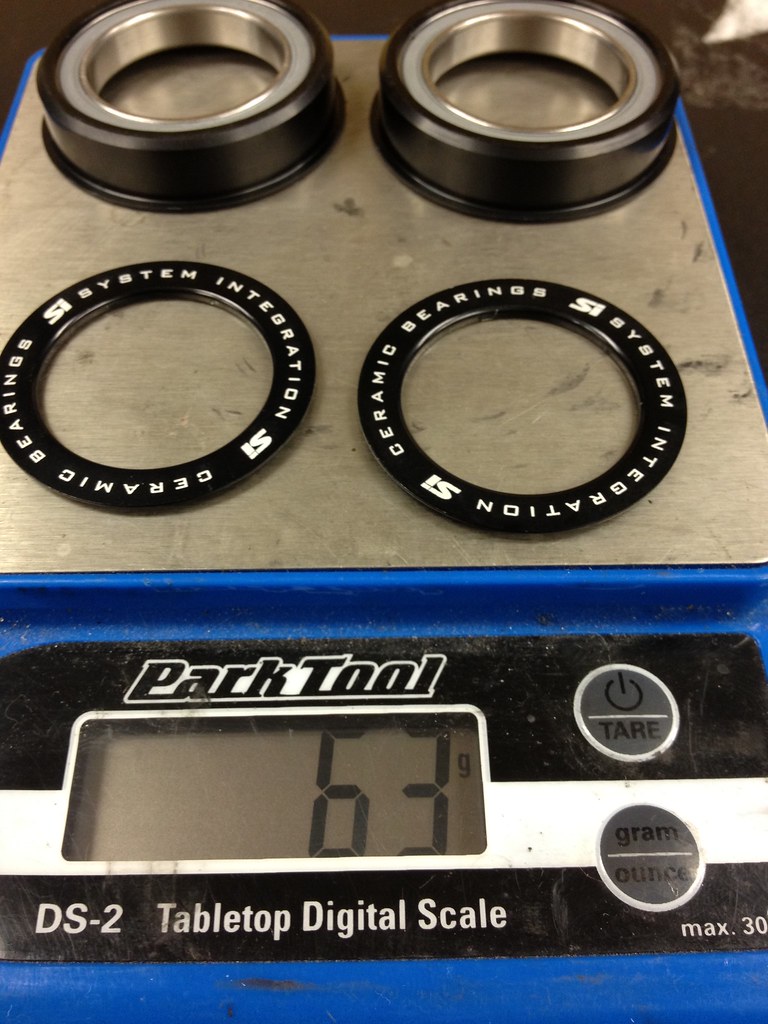
Note how the Wheels Manufacturing BB30 adapter fits within the cut-out on the SRM power meter.
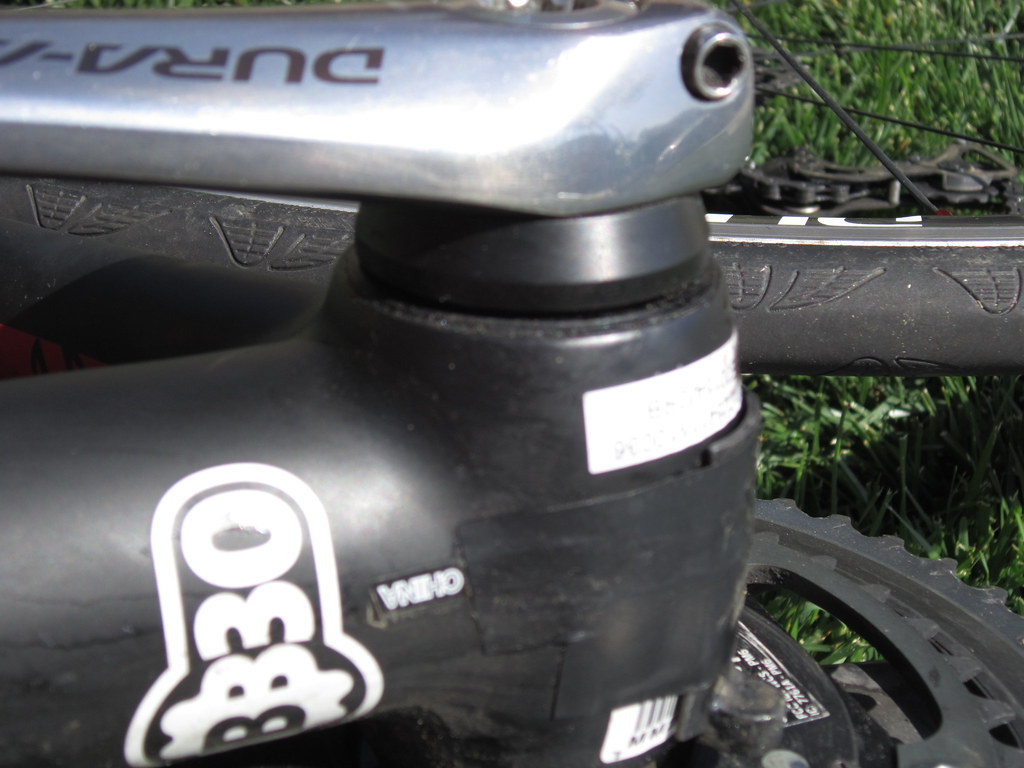
Note the Wheels Manufacturing BB30 adapters between the non-drive side crankarm and the frame.
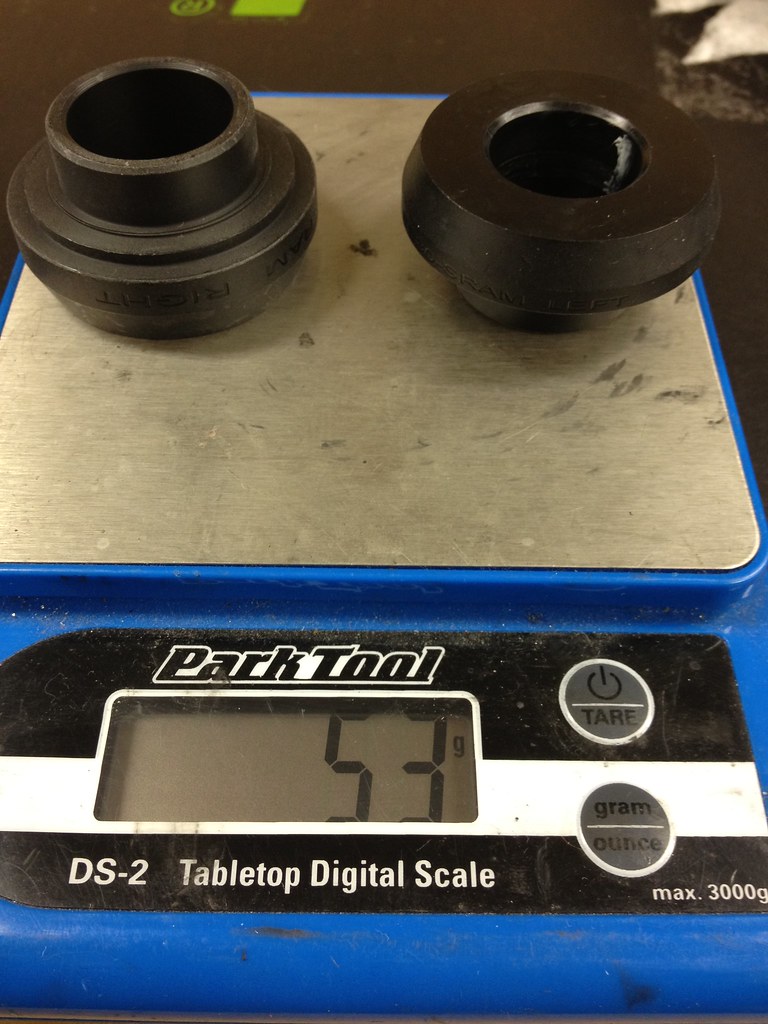
Installing a 24mm Shimano Dura-Ace 7900 wireless SRM on a 2012 Cannondale Super Six EVO BB30 involved these two adapters.
1. Cannondale part # KP197/SRM 68/73 Press Fit BB30
2. The Wheels Manufacturing adapters adds 53g (BB30 Shim for SRAM/TRUVATIV)
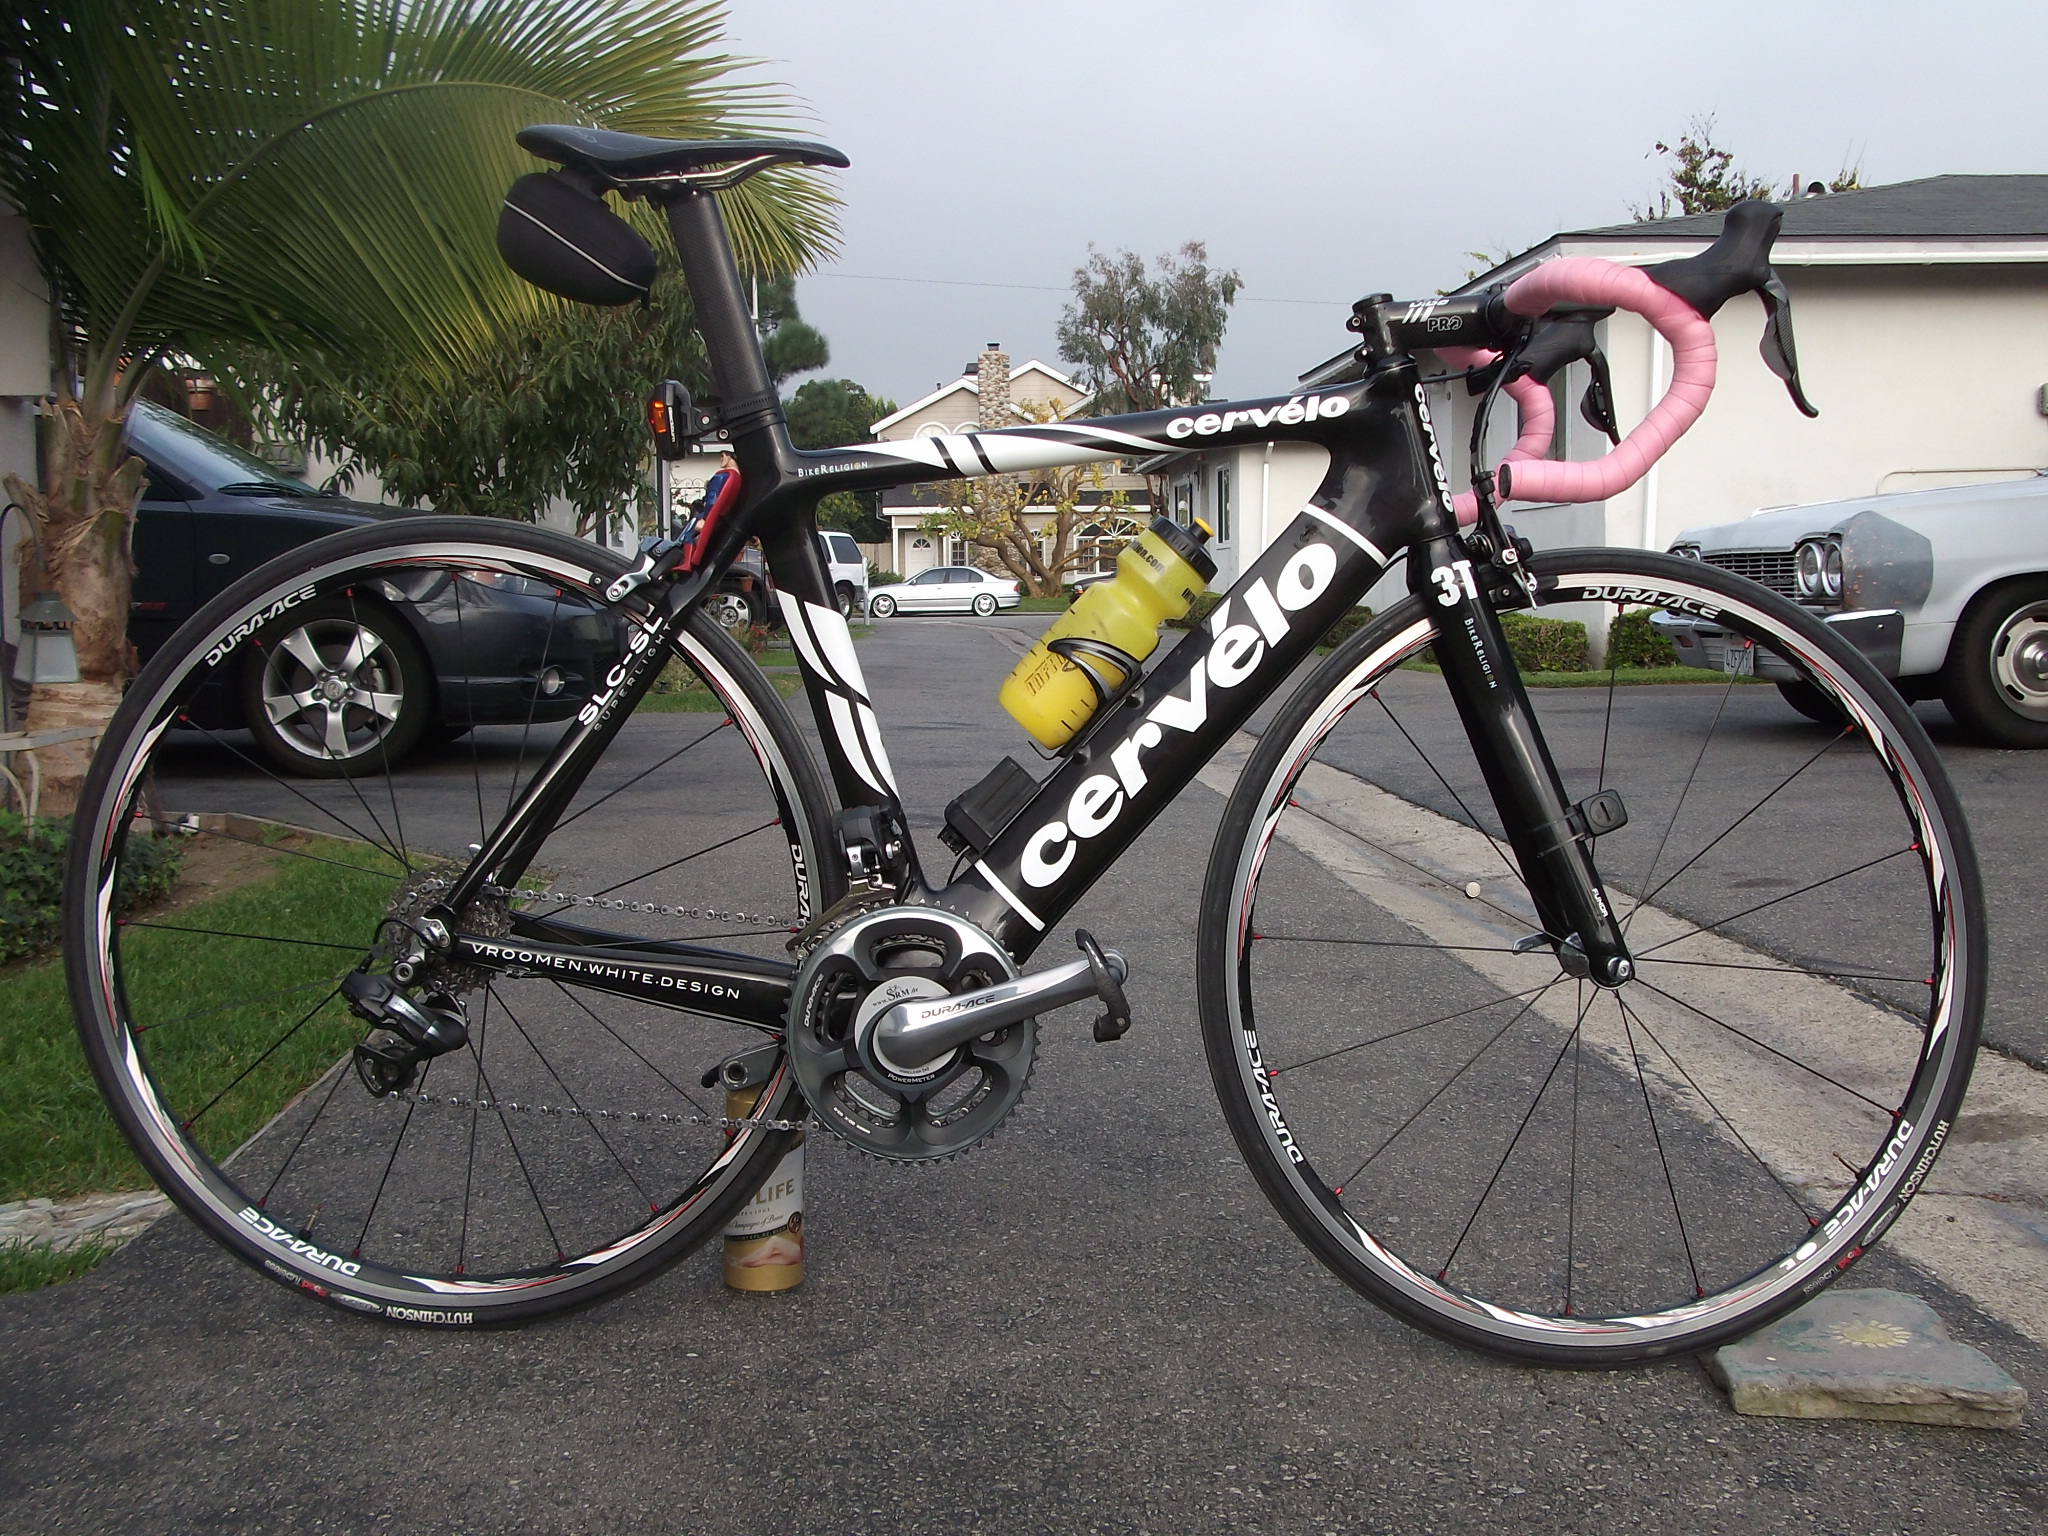
I would like to conclude by saying this is quite possibly the greatest bike I have ever ridden. I have had many great bikes. But this bike is exceptional. The only bike that I think even compares to it is my Cervelo R3 SL. I haven’t ridden that bike in a while so maybe I’m just hanging on to some sentimental memories of my Cervelo R3 SL.
The Cannondale Super Six EVO ranks 5 out of 5 on the Epic Train scale of goodness.
Please consider AdventureCORPS in your 2012 ride calendar! I hope to see you “out there”